








Surroundings

Trees, people, fences and roads show how large the building is and how it sits in the area. Here you add them, and you hide existing buildings and trees that are in the way of what you are drawing.
Add trees and people
-
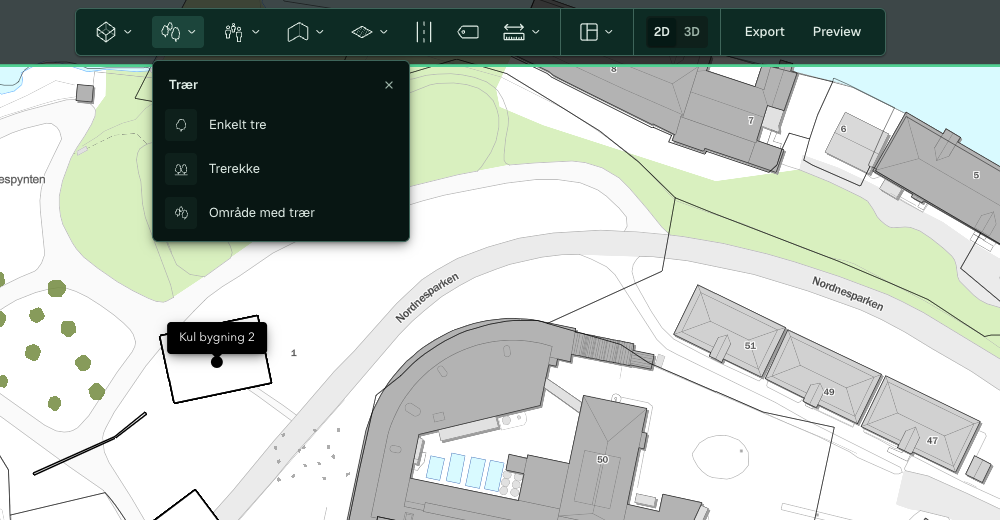
Click Trees and select Row of trees for trees along a line. Single tree adds one tree per click, and Area with trees fills a surface.
-
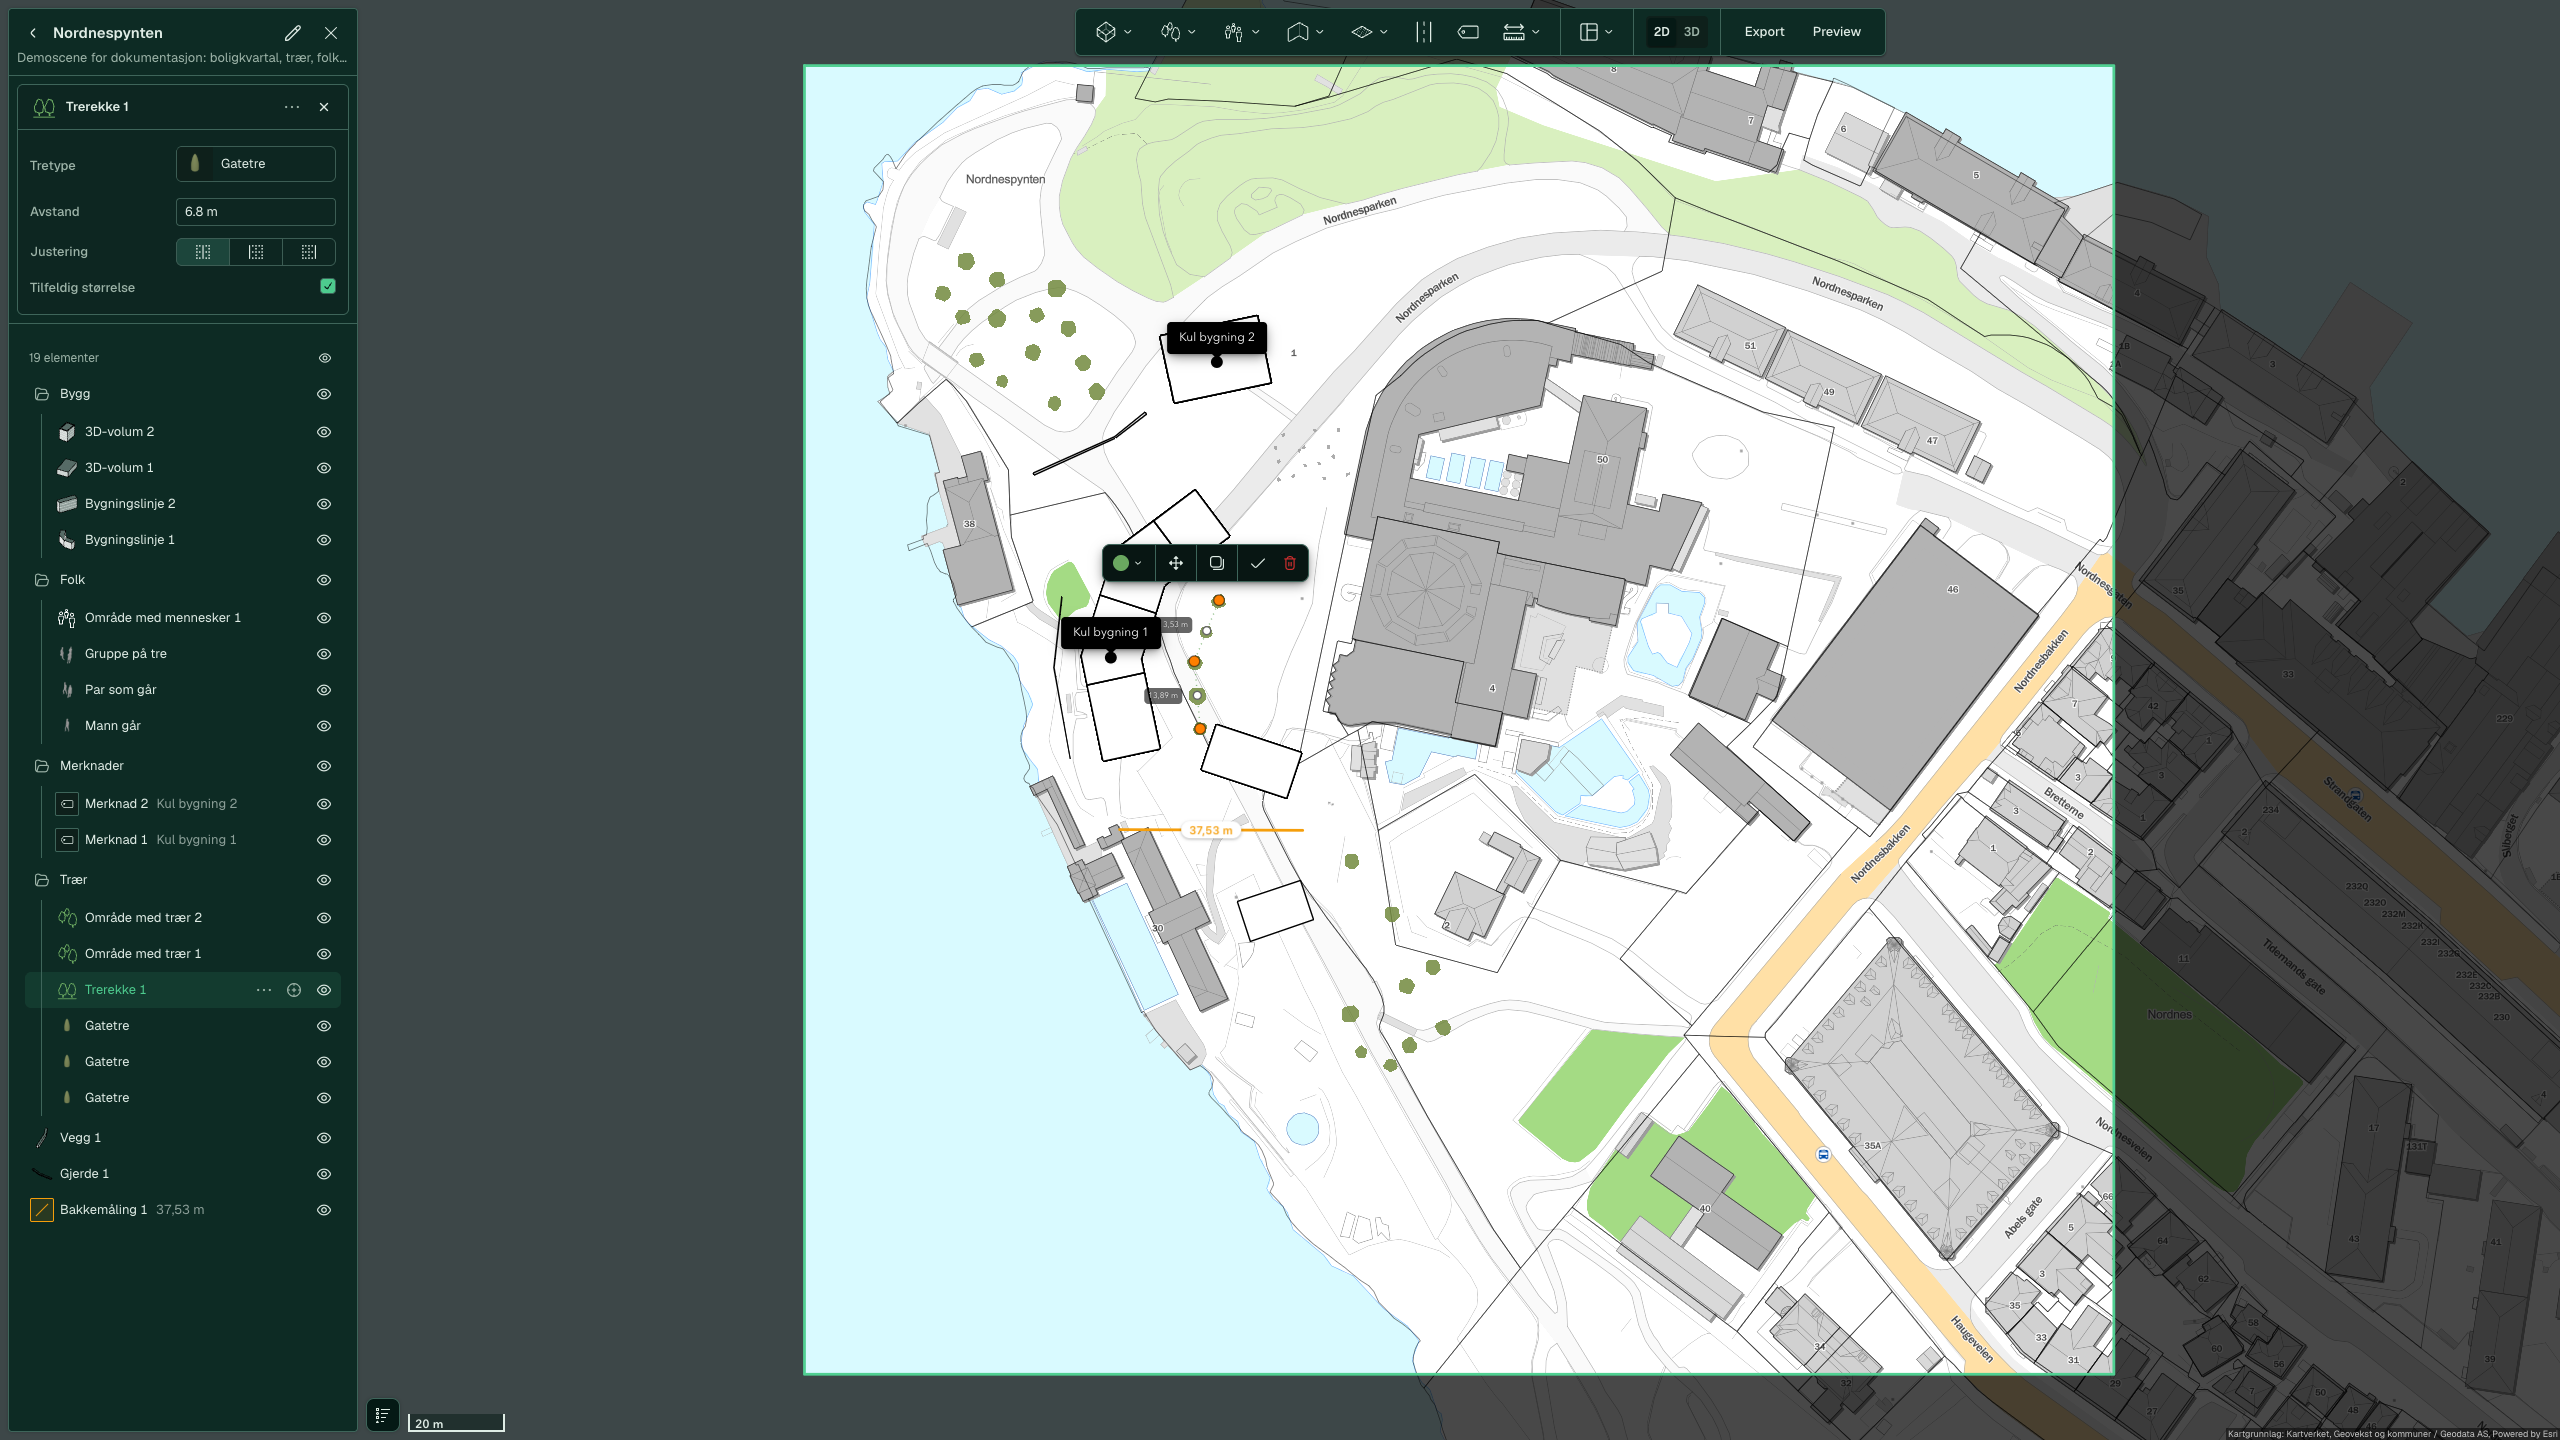
Click the points along the row and press Enter. The trees follow the pointer while you draw.
-
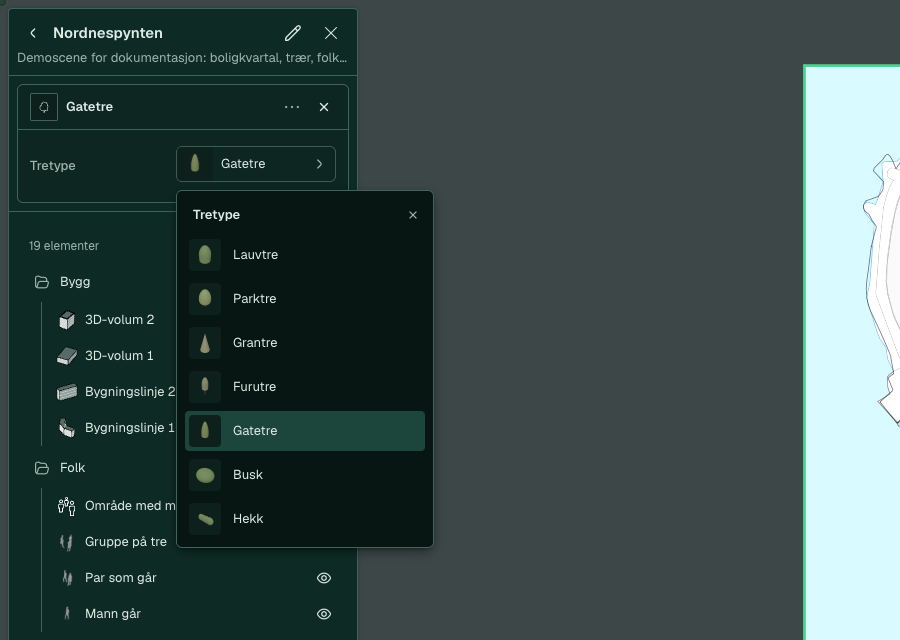
Select a tree species in Tree type in the panel and enter the spacing between the trees in Distance. Click Done.
-
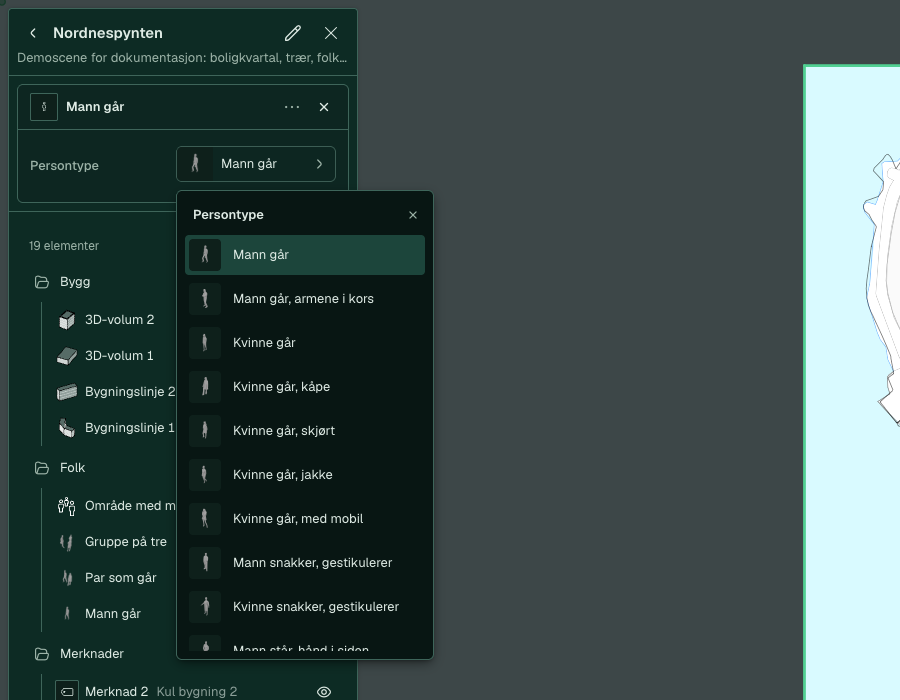
Click People and select Single person. Select a figure in Person type, for example “Couple walking”, and click in the map.
-
The tool for single trees and people stays ready for the next click. Press Esc or click Cancel in the help bar at the top when you are done.


People are small in 2D. View them in 3D. Trees and people behind tall buildings disappear from view, but they are still there. Hide the buildings or move the camera to see them.
Draw a wall or fence
- Click Walls and fences and select Wall or Fence.
- Click the points along the line and press Enter. The row is called “Wall 1” or “Fence 1”.
- Select the appearance and dimensions in the panel:
-
Wall: select Subtype, for example “Retaining wall”, and enter Height in metres.
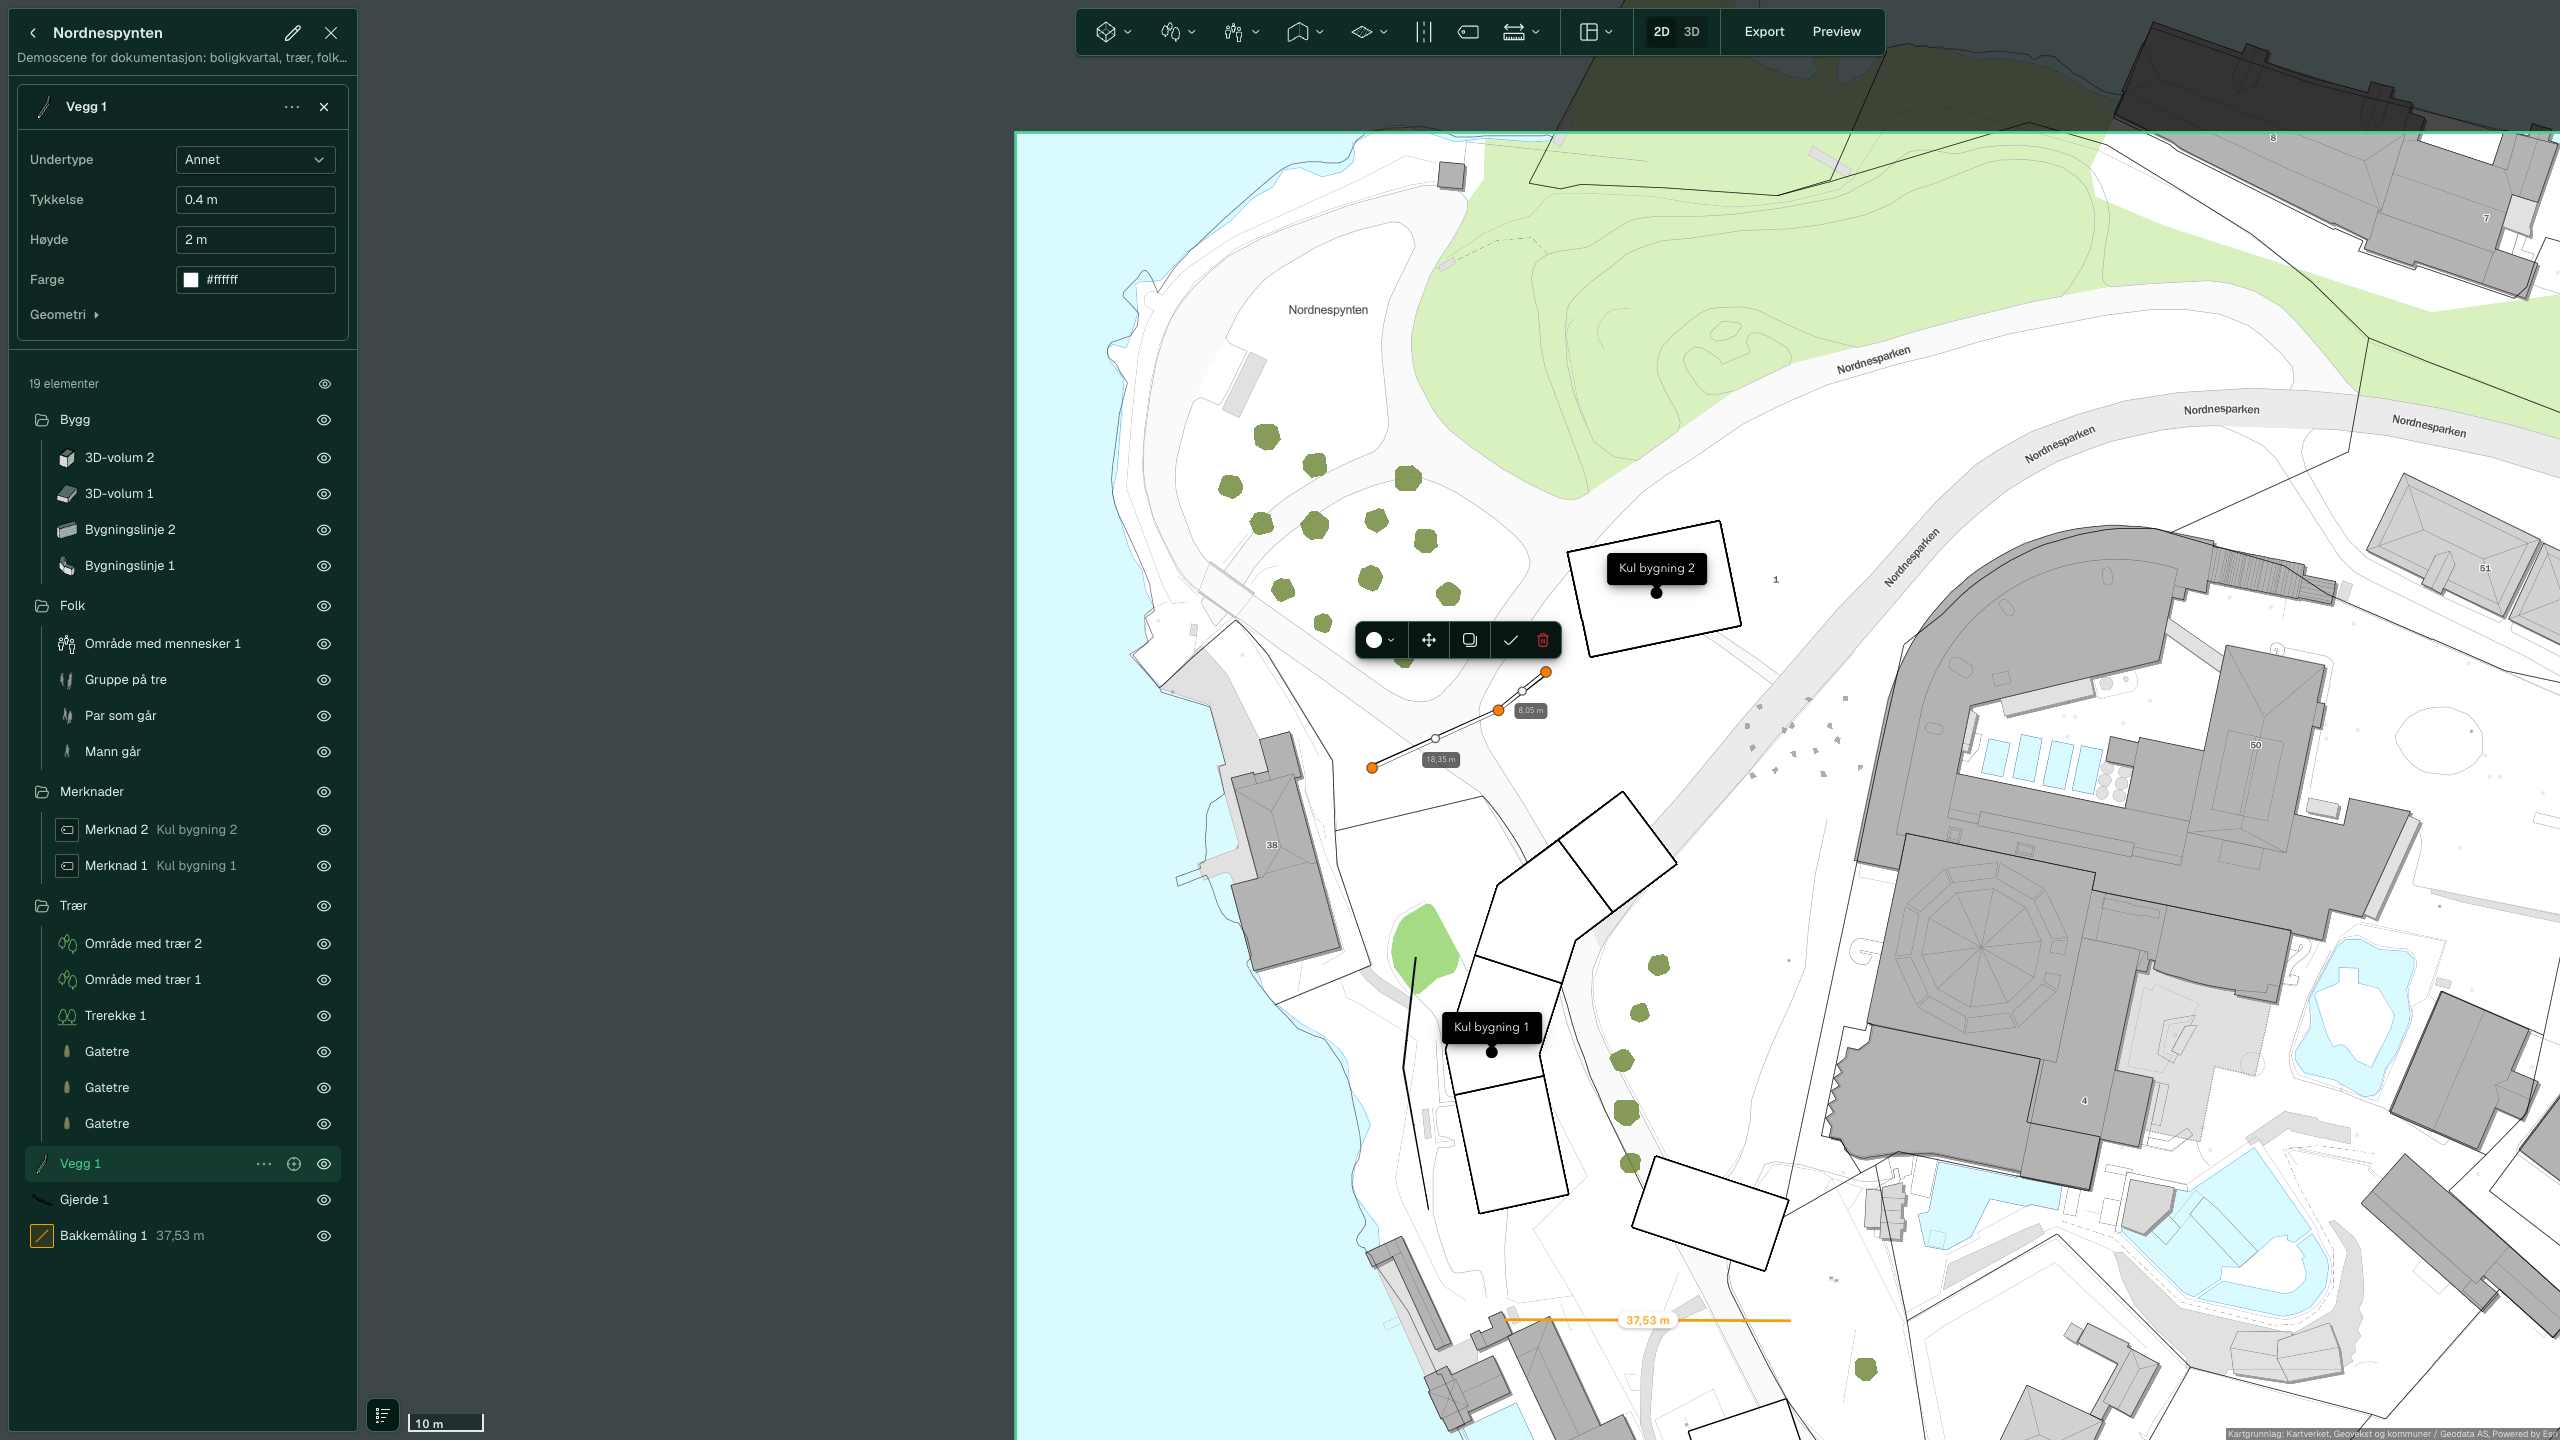
-
Fence: select Type, for example “Railing”, and enter Height and Post spacing.
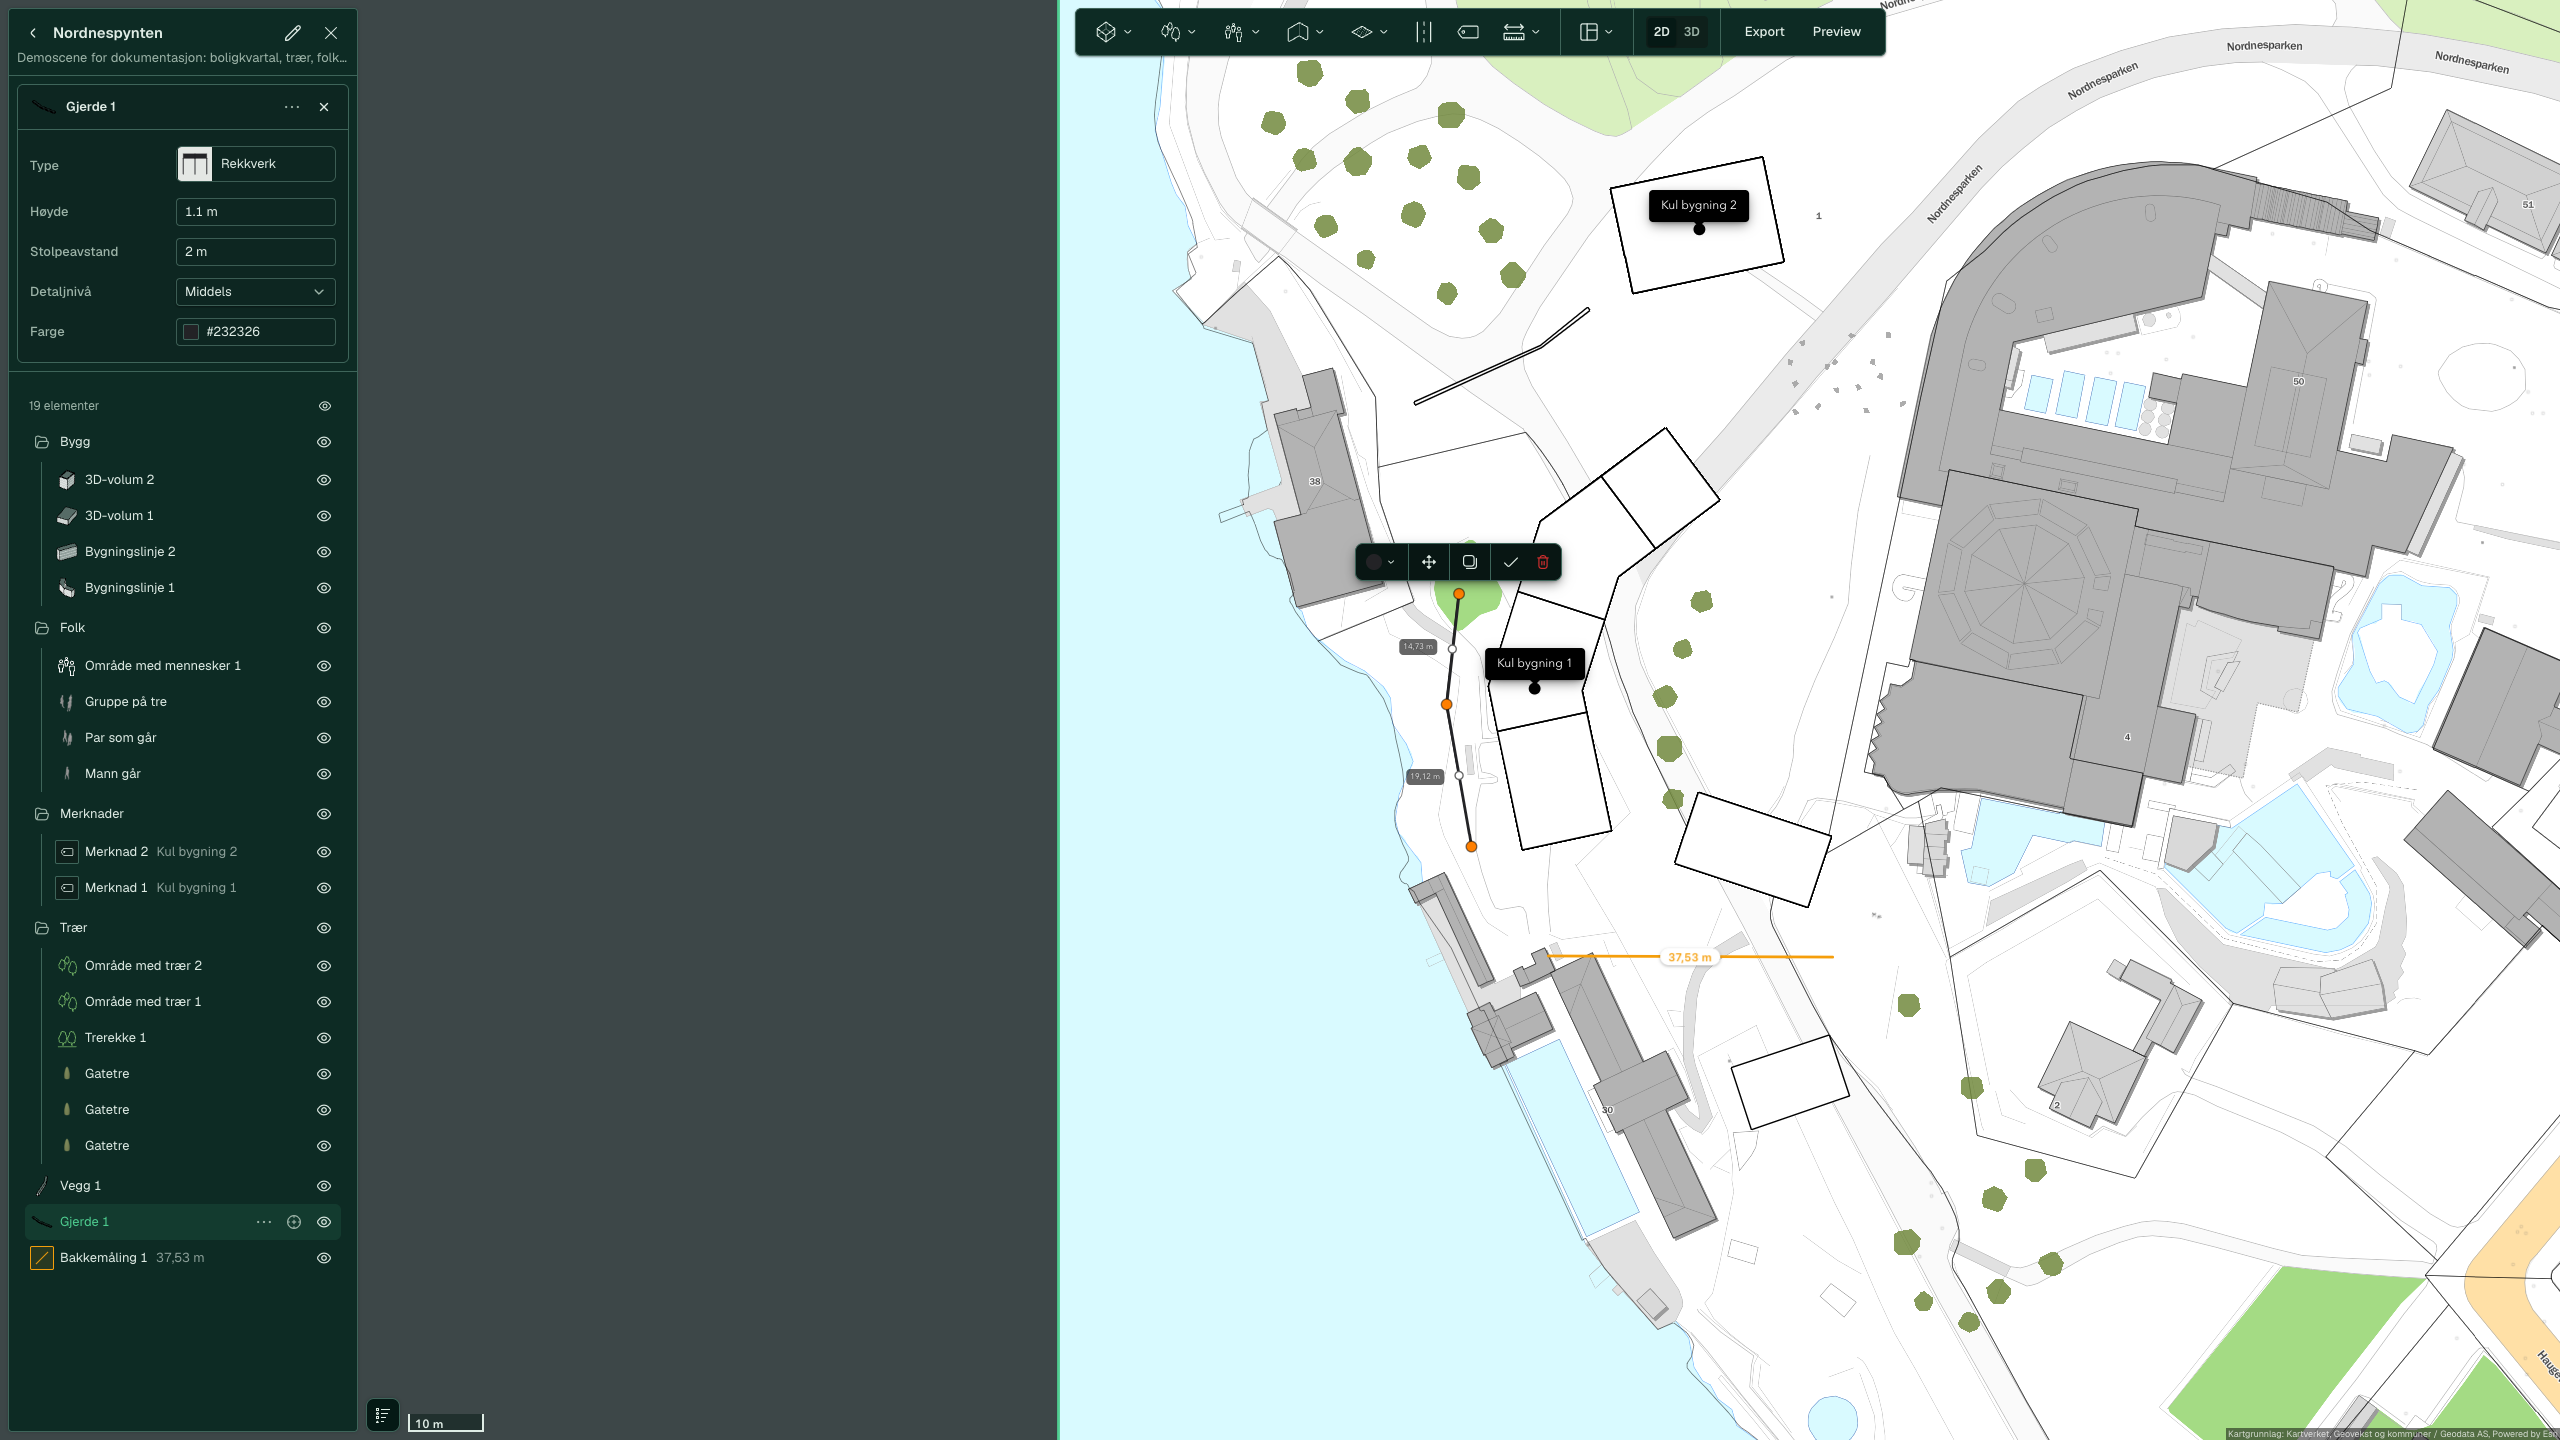
-


The values for each type are listed under Wall and Fence.
Draw areas, water and roads
-
Click Area and select Garden, Park, Parking or Water. Click the corners and press Enter.
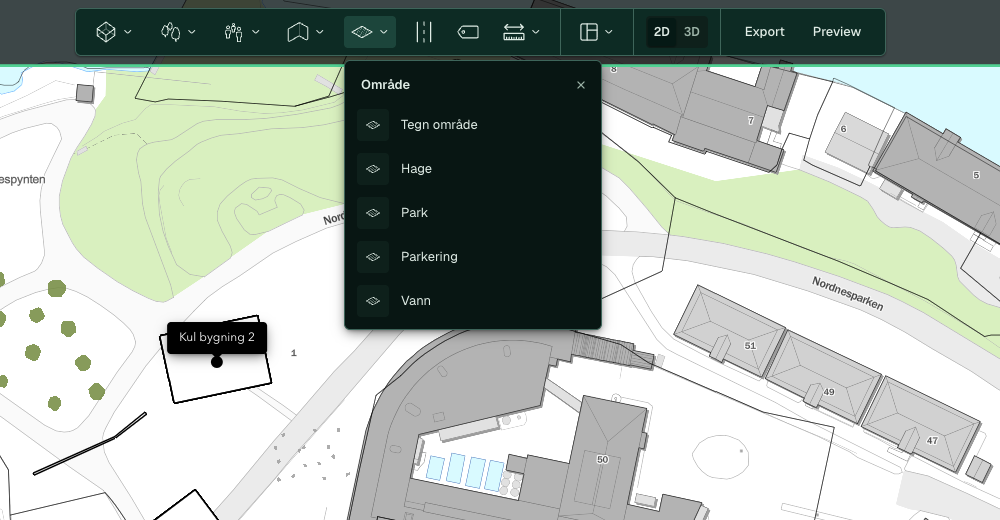
-
Select the function and colour in Function/colour in the panel. All areas are called “Area” followed by a number, whatever you selected.
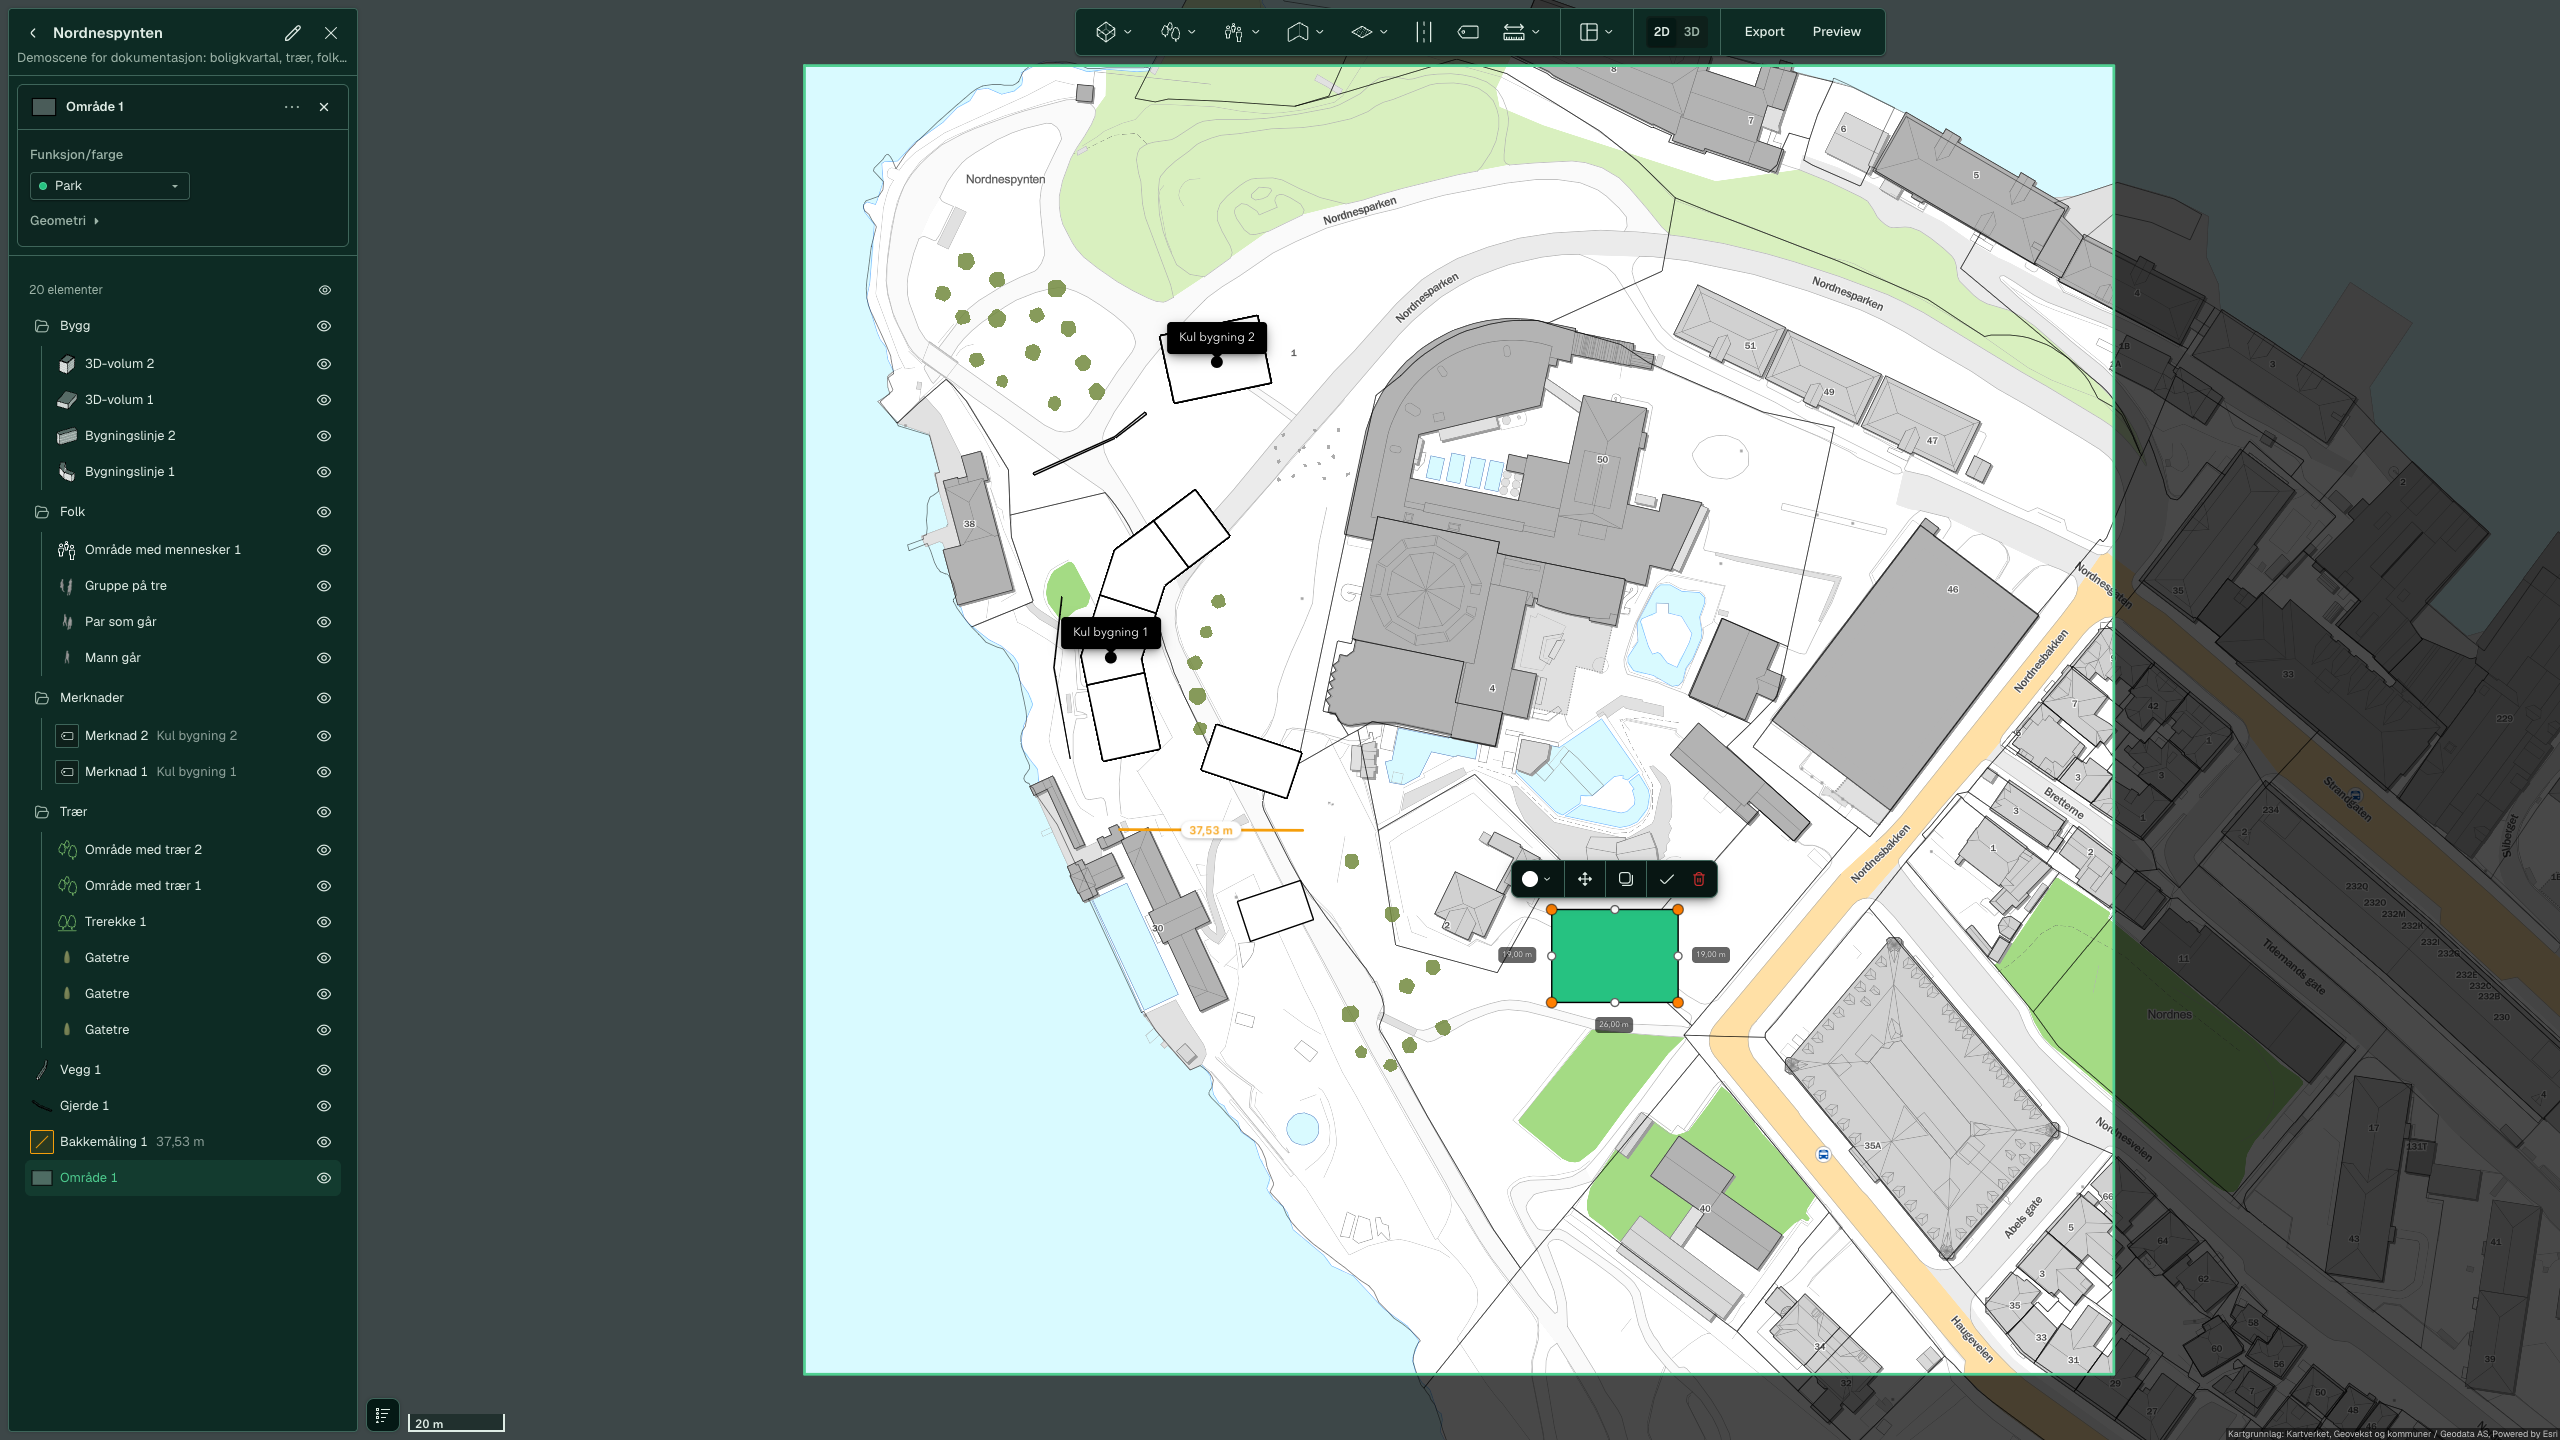
-
Click Road. The tool is ready straight away. Click the points along the road and press Enter.
-
Select Subtype, for example “Path” or “Cycle and footpath”, and enter your own value in Width if you want a different width. The colour is white whatever the subtype, and it does not show on light terrain. Click Color and select a darker one.
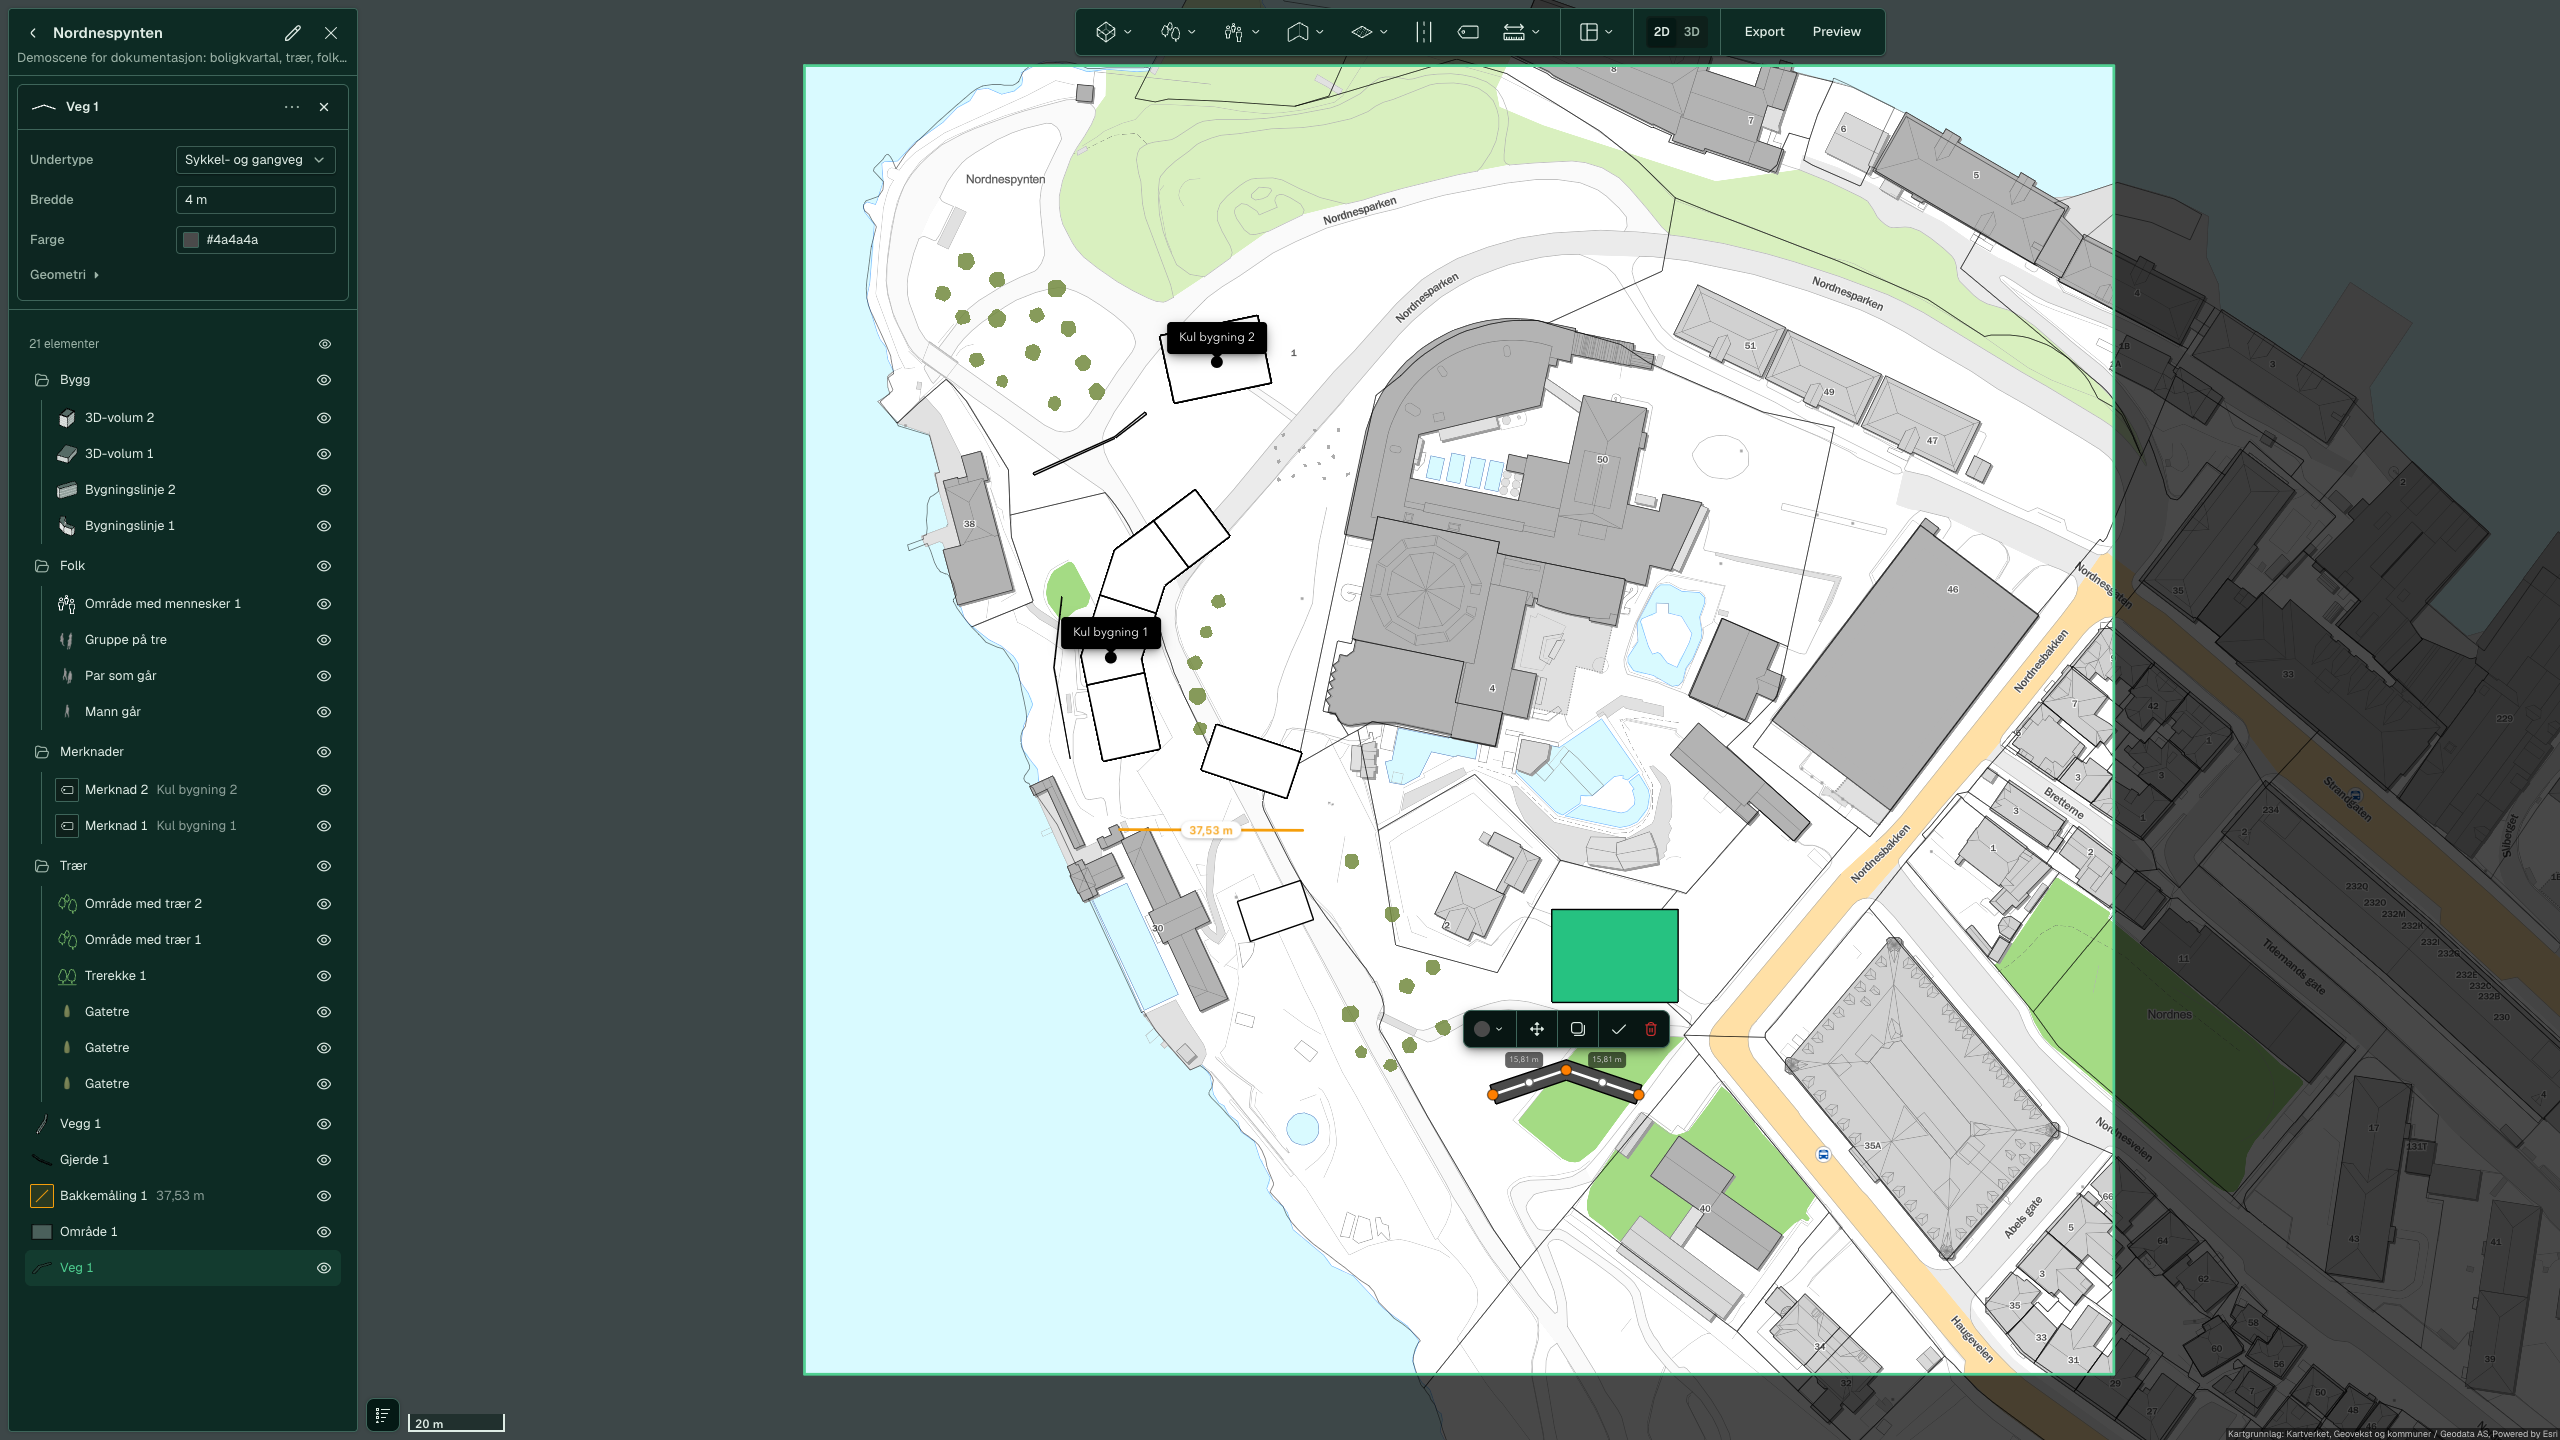


See Area and Road for the colours and widths.
Hide buildings and trees that are in the way
This requires 3D.
-
Switch to 3D and wait until the buildings around the scene have loaded.
-
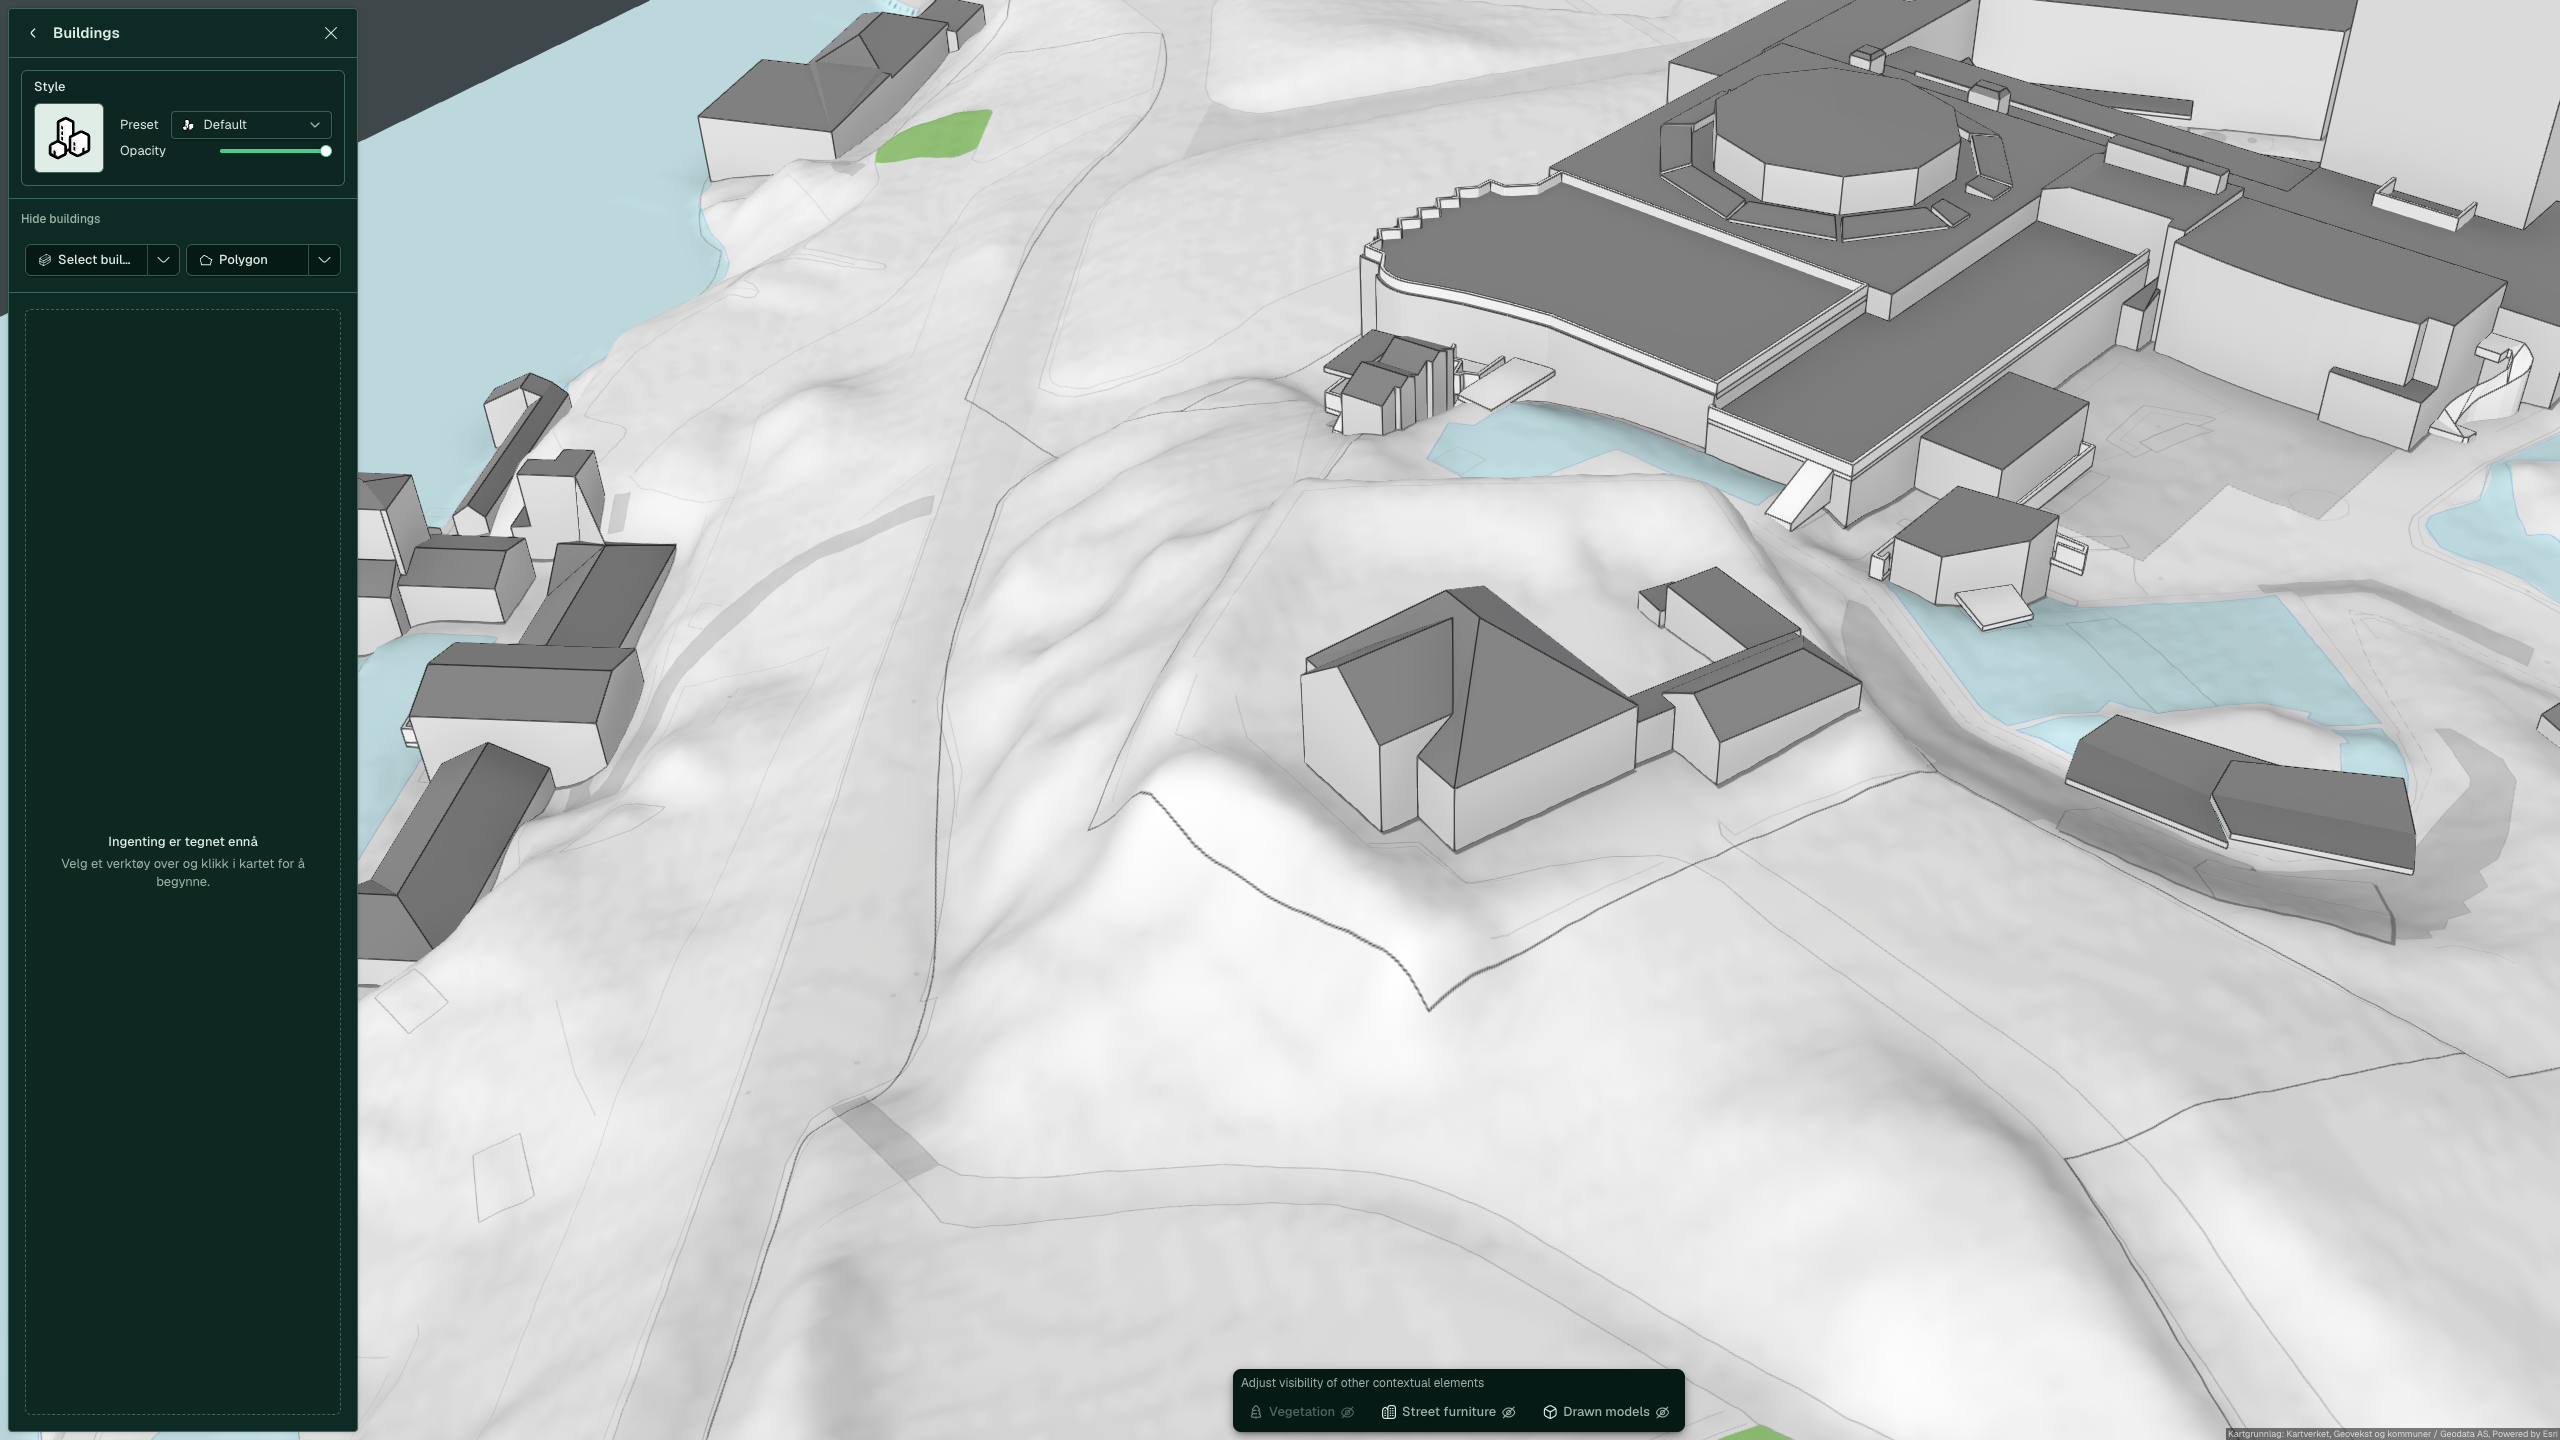
Hold the pointer over Buildings in the “Surroundings data” card and click the pencil.
-
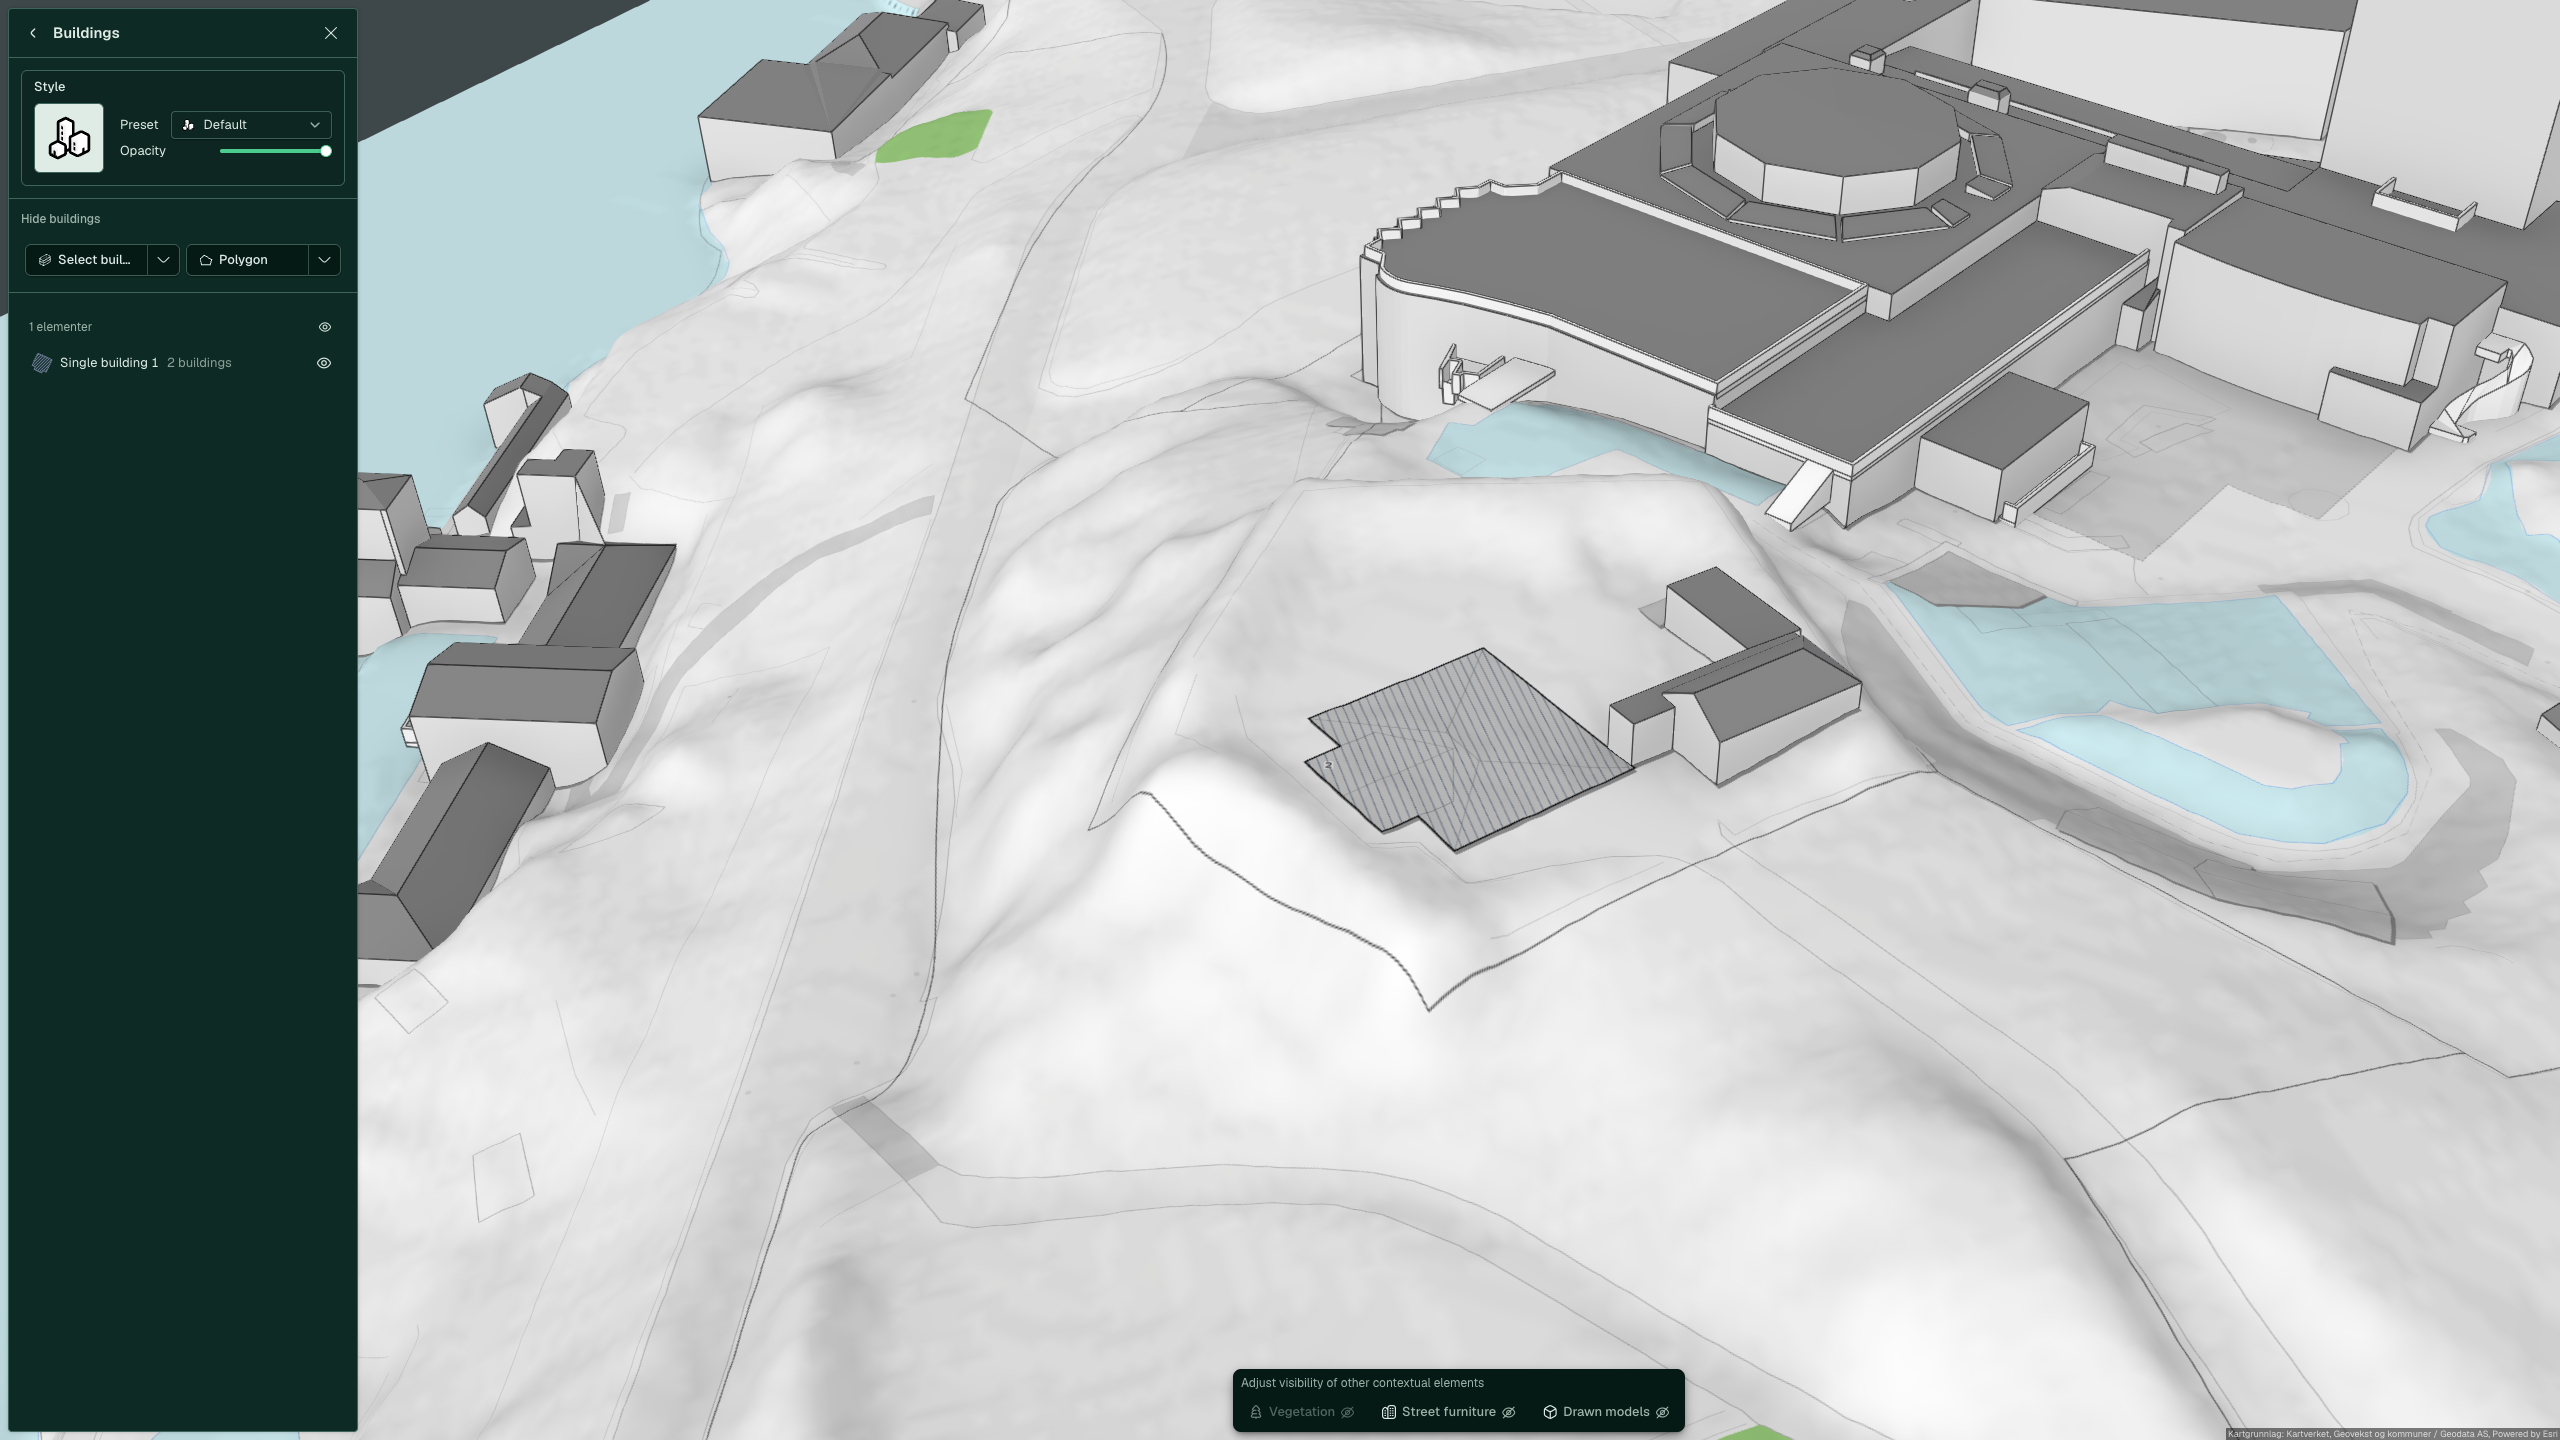
Click the arrow next to Select in map under “Hide buildings”, select Select building and click the building in 3D.
-
The building is replaced by a hatched outline, and a row appears in the list. Click Back to scene.


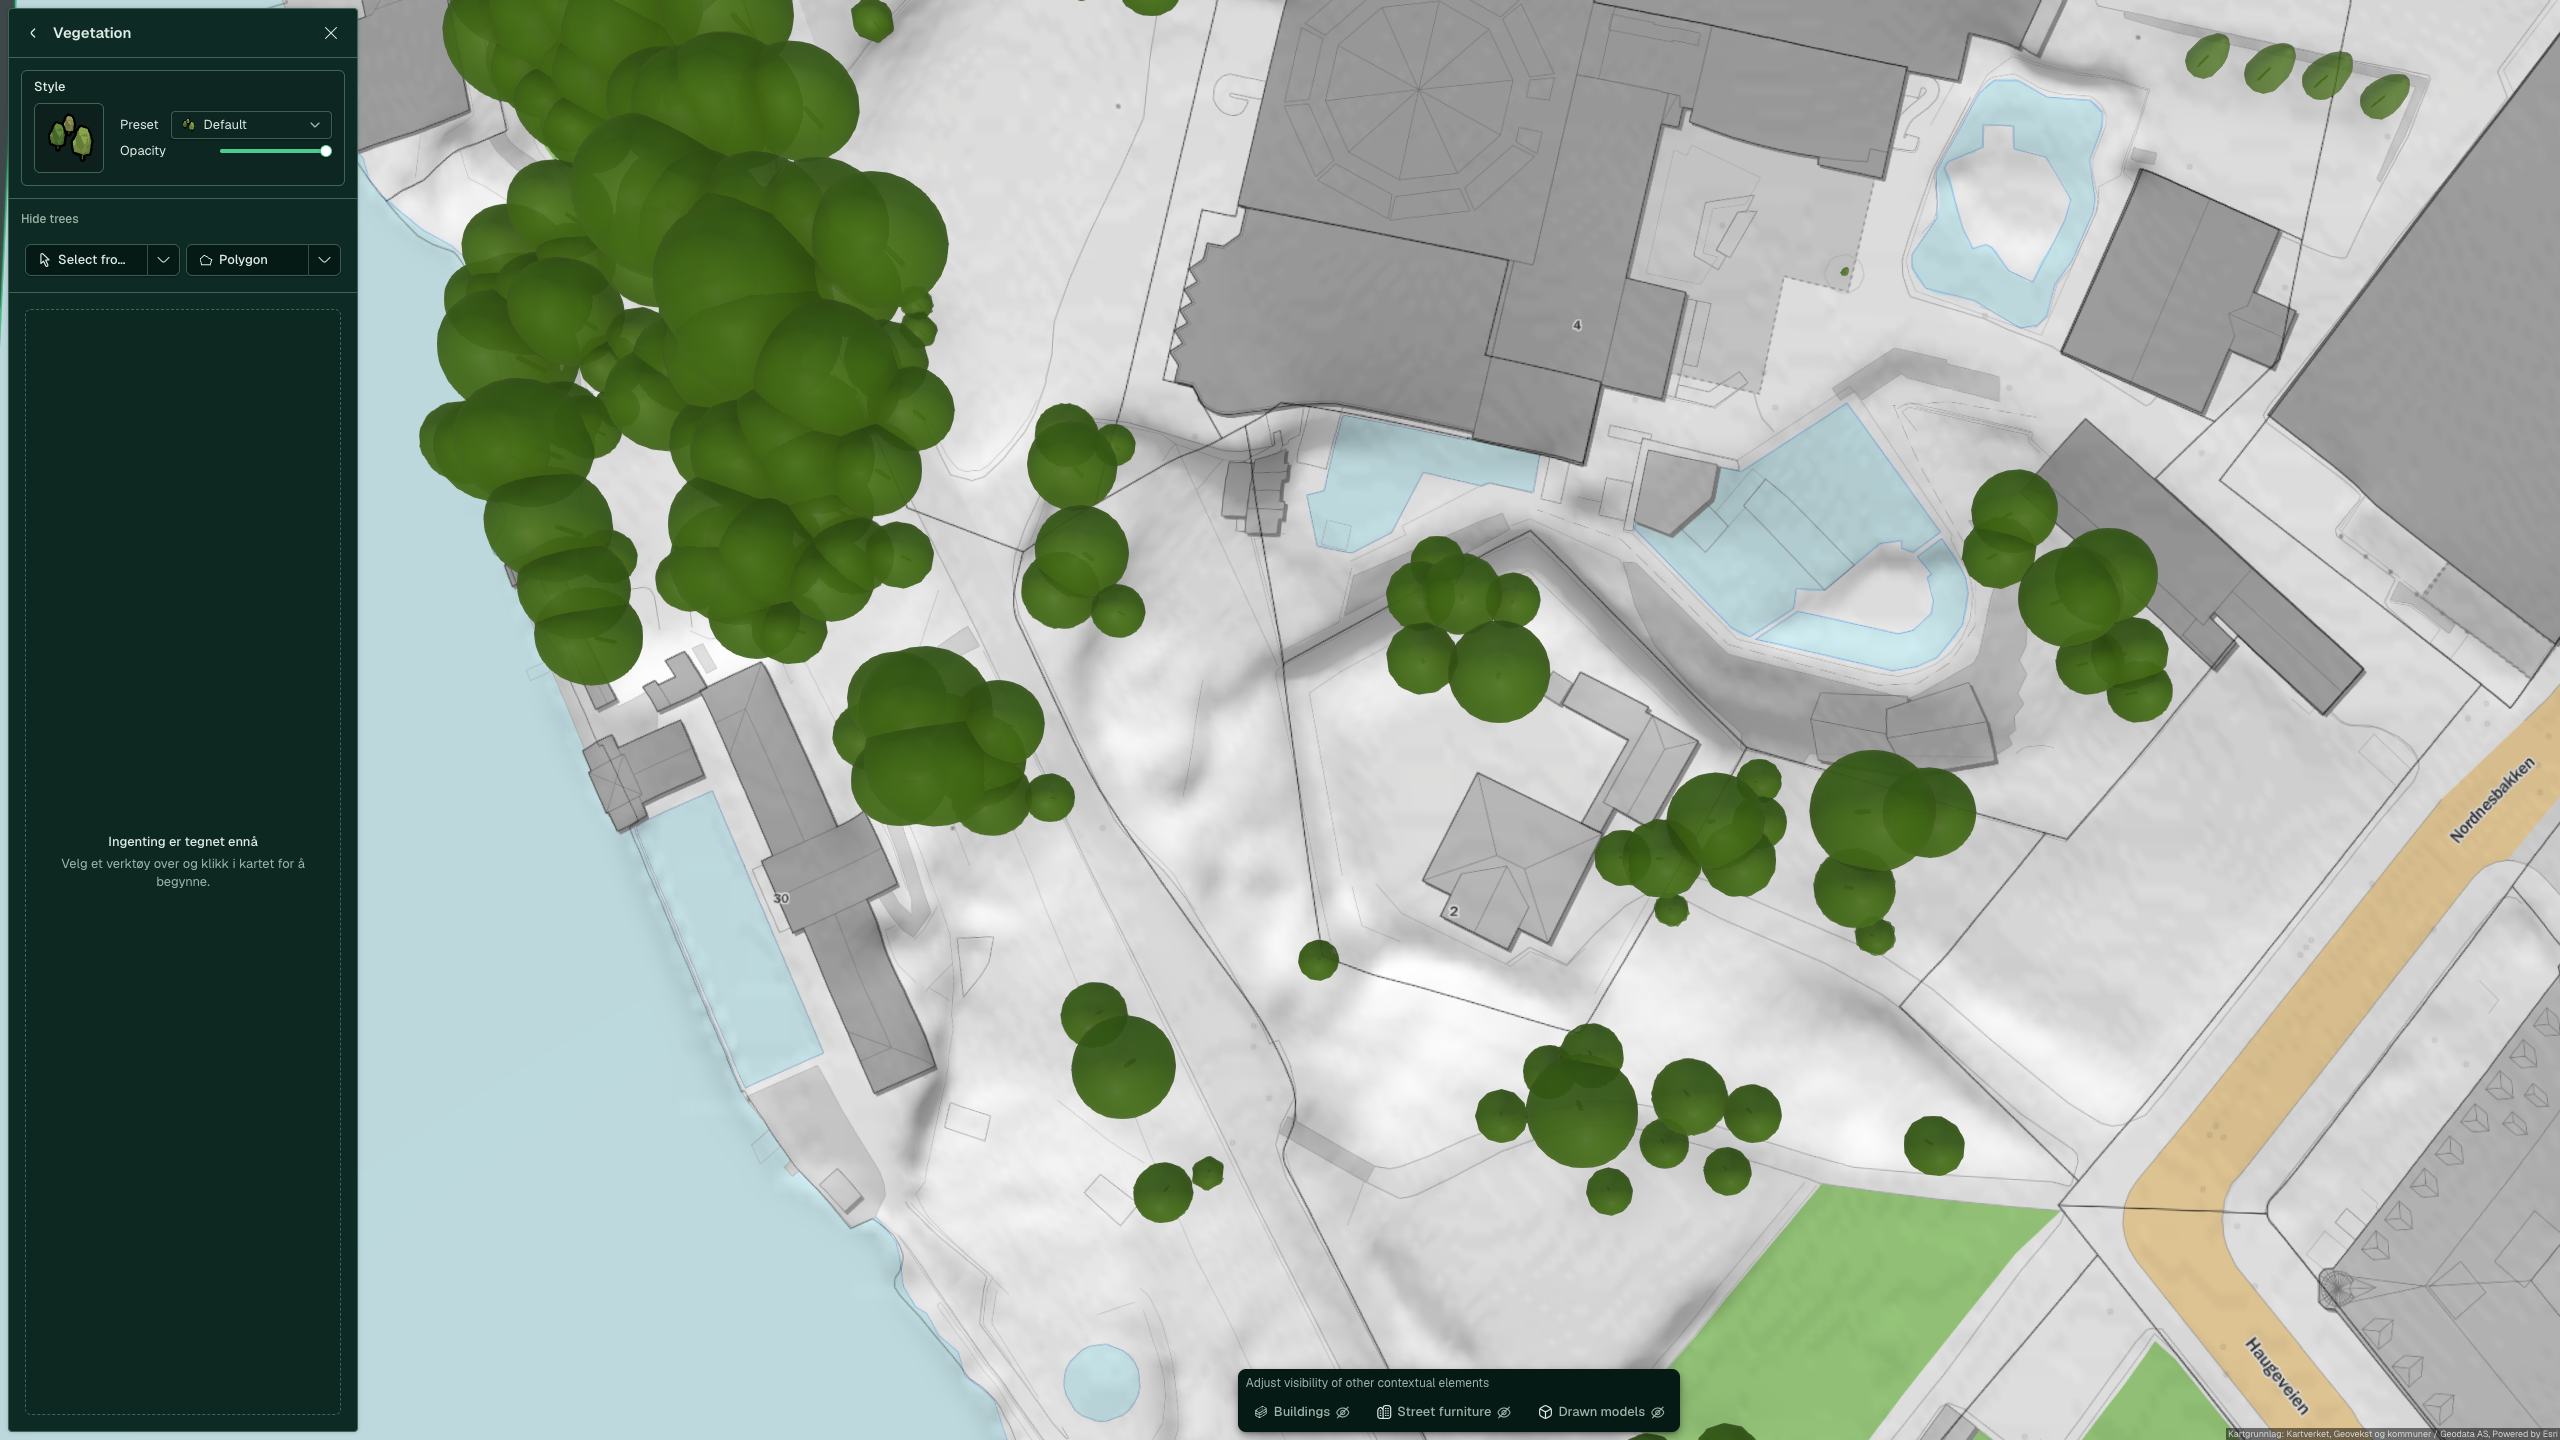
You hide trees the same way under Vegetation. Vegetation must be turned on first, and in the demo scene it is turned off.
-
Click the eye next to Vegetation in the “Surroundings data” card to show the trees, hold the pointer over the row and click the pencil.
-
Click the arrow next to Select in map under “Hide trees”, select Select tree and click the tree in 3D. The tree appears in the list.
-
To hide many trees at once, click Polygon, click the corners around the area and press Enter. All trees inside are hidden.
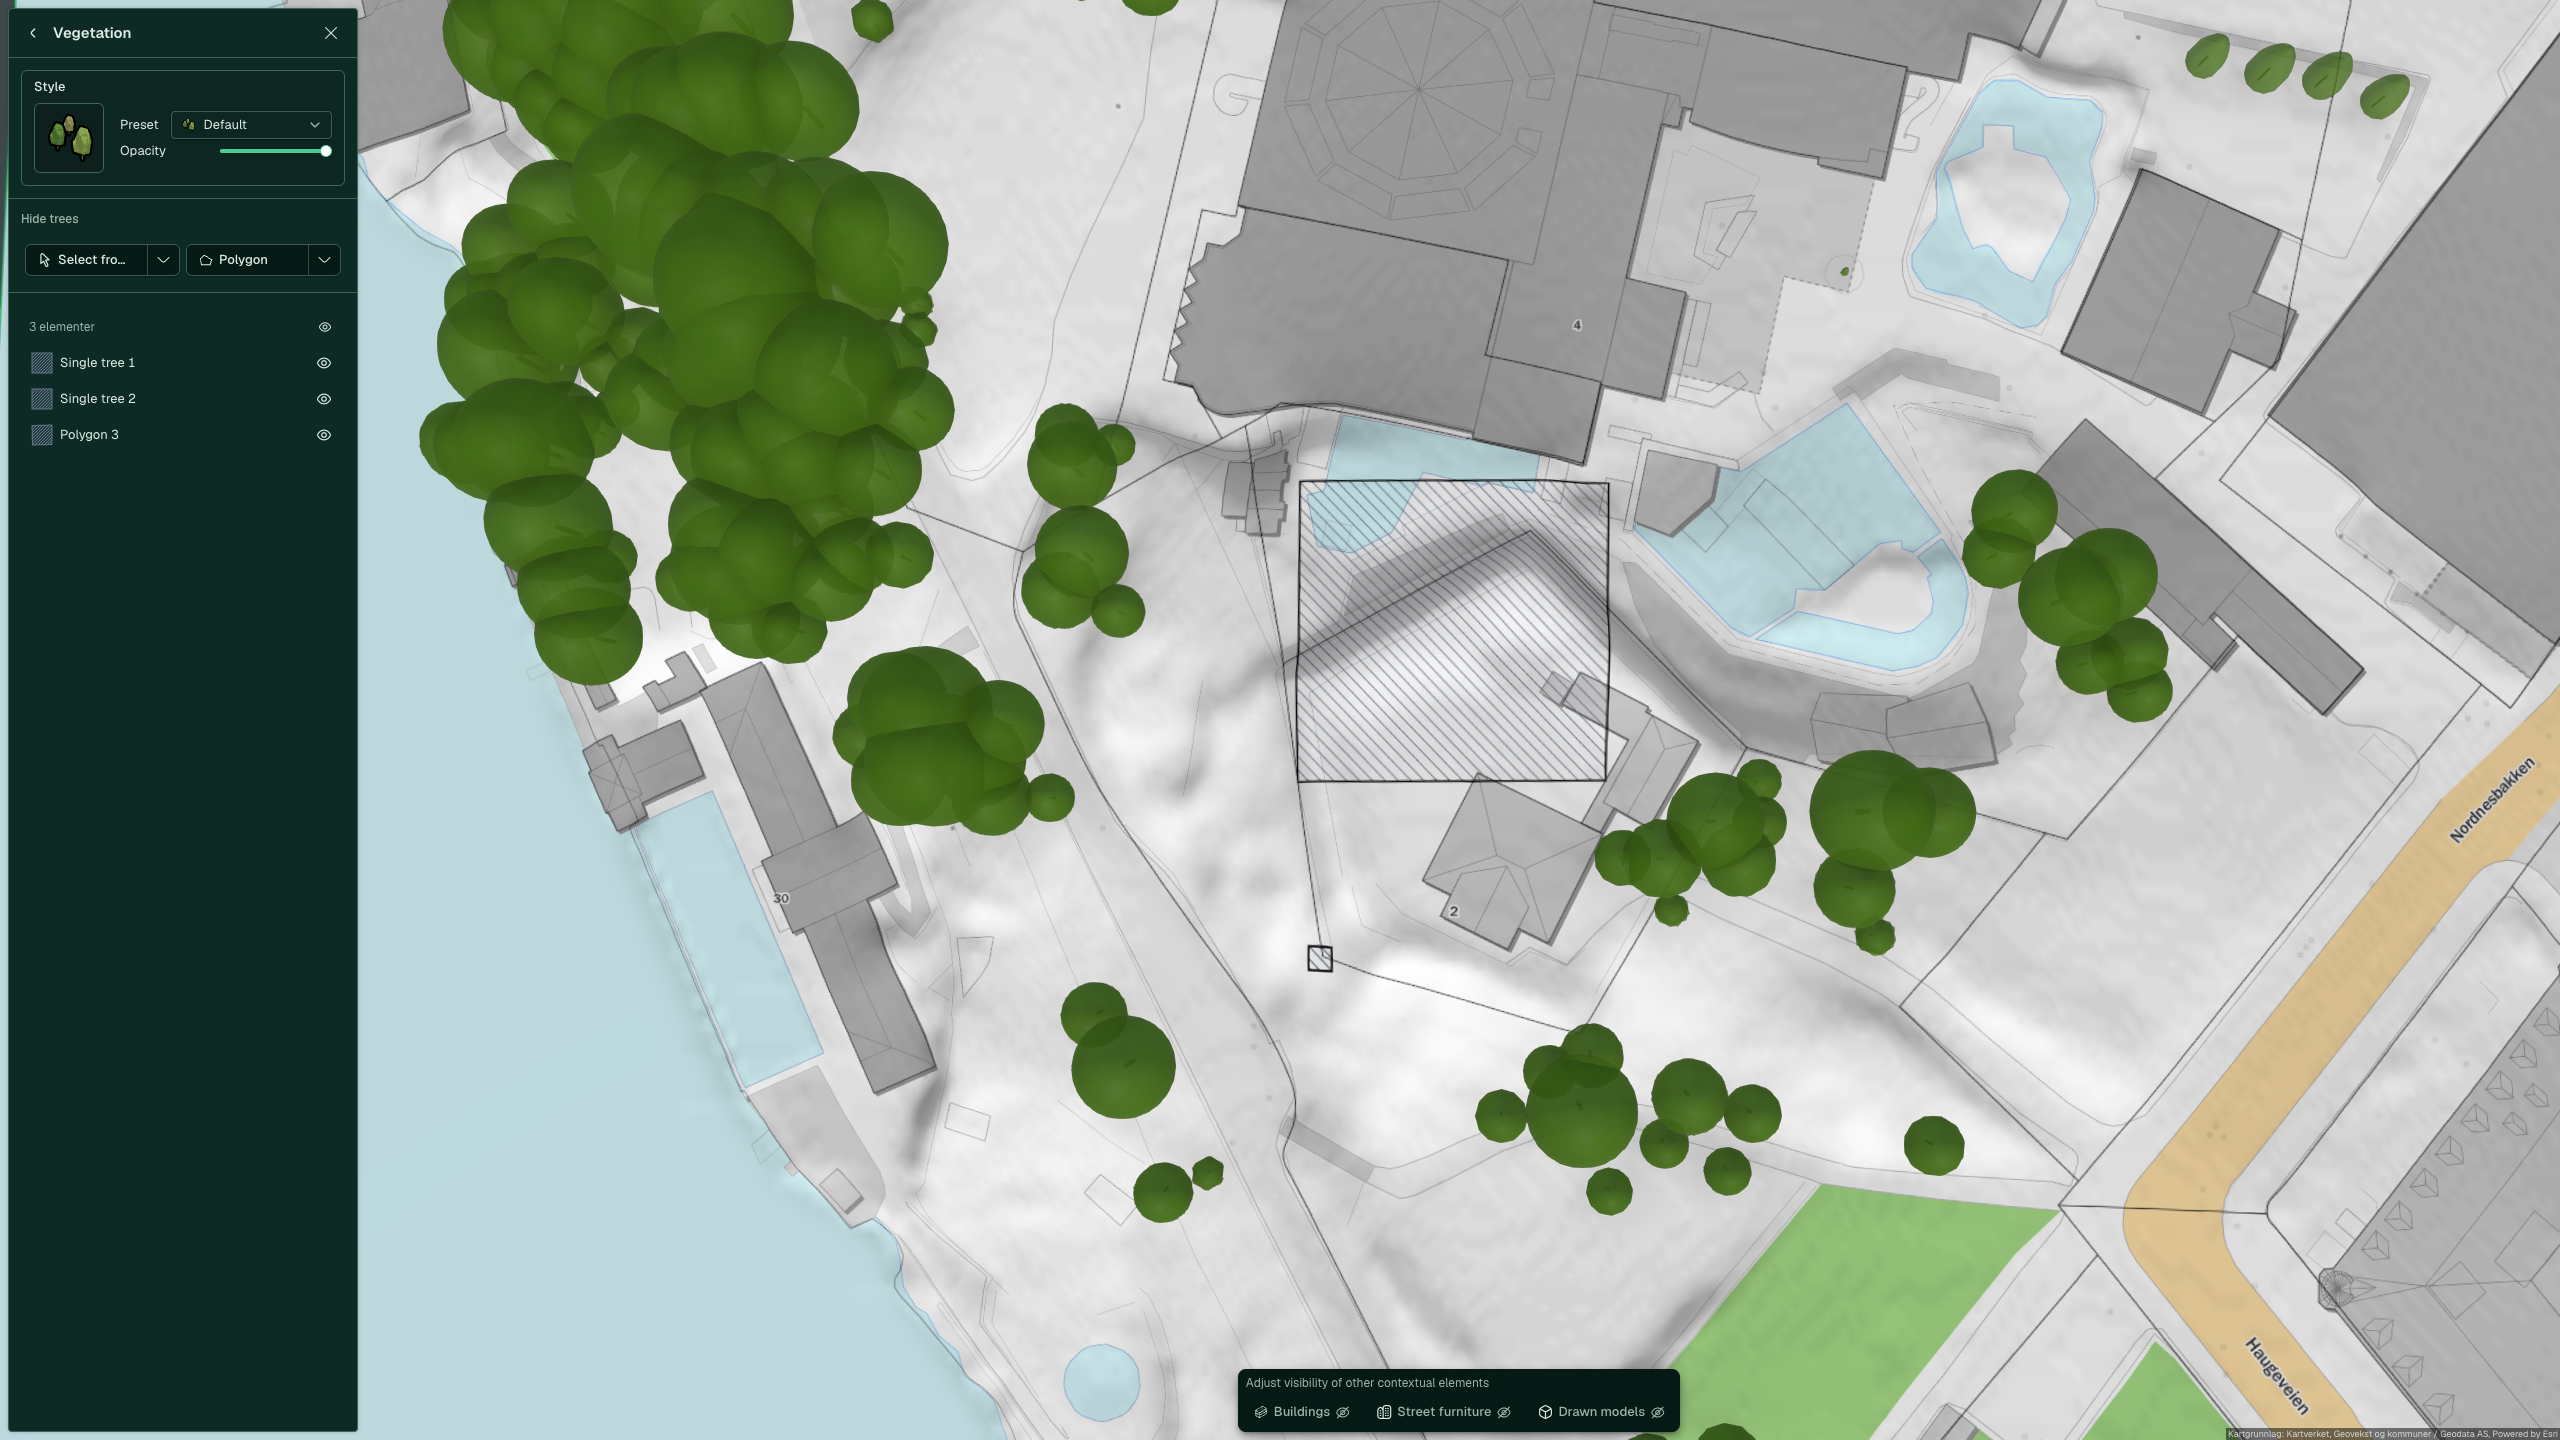
-
Click Back to scene.


To bring a building or tree back, open the mode again, hold the pointer over the row, click More options and select Delete. Polygon under “Hide buildings” hides all buildings inside an area you draw.
See also
- All tools and settings for tree species, people and spacing
- Terrain to level the plot the building will stand on
- Measurements and notes for distances and text in the scene