








Terrain

Here you level a building plot, draw a road with an even gradient and read off the earth that needs moving. Excavation and fill are painted on the terrain, and the panel shows the figures in m³.
You edit the terrain in 3D. While you edit, buildings, trees and other drawn elements are hidden in the scene. They come back when you leave the mode.
Level a plot
-
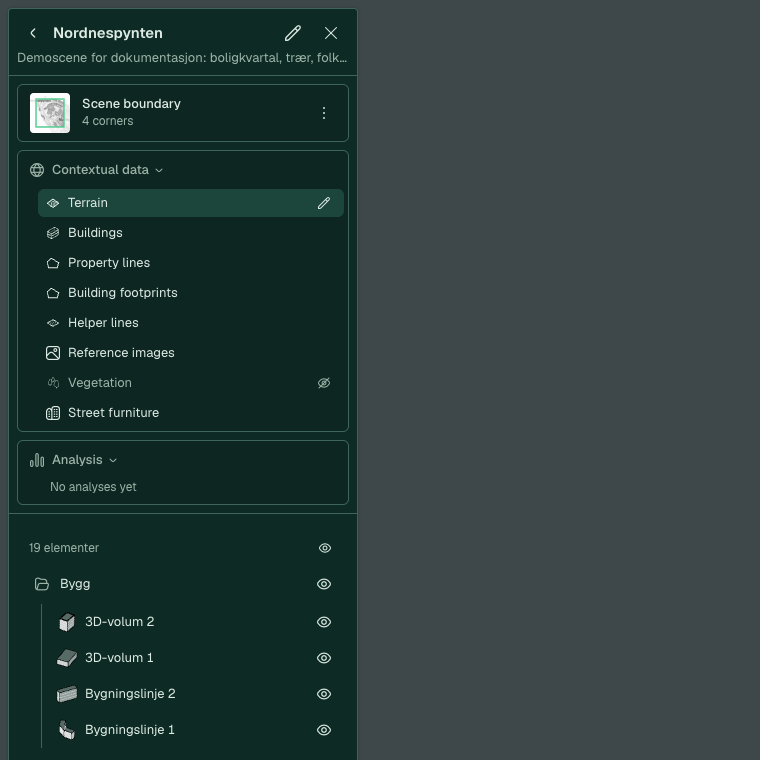
Switch to 3D. Hold the pointer over Terrain in the “Surroundings data” card and click the pencil. The mode is called “Terrain editing”.
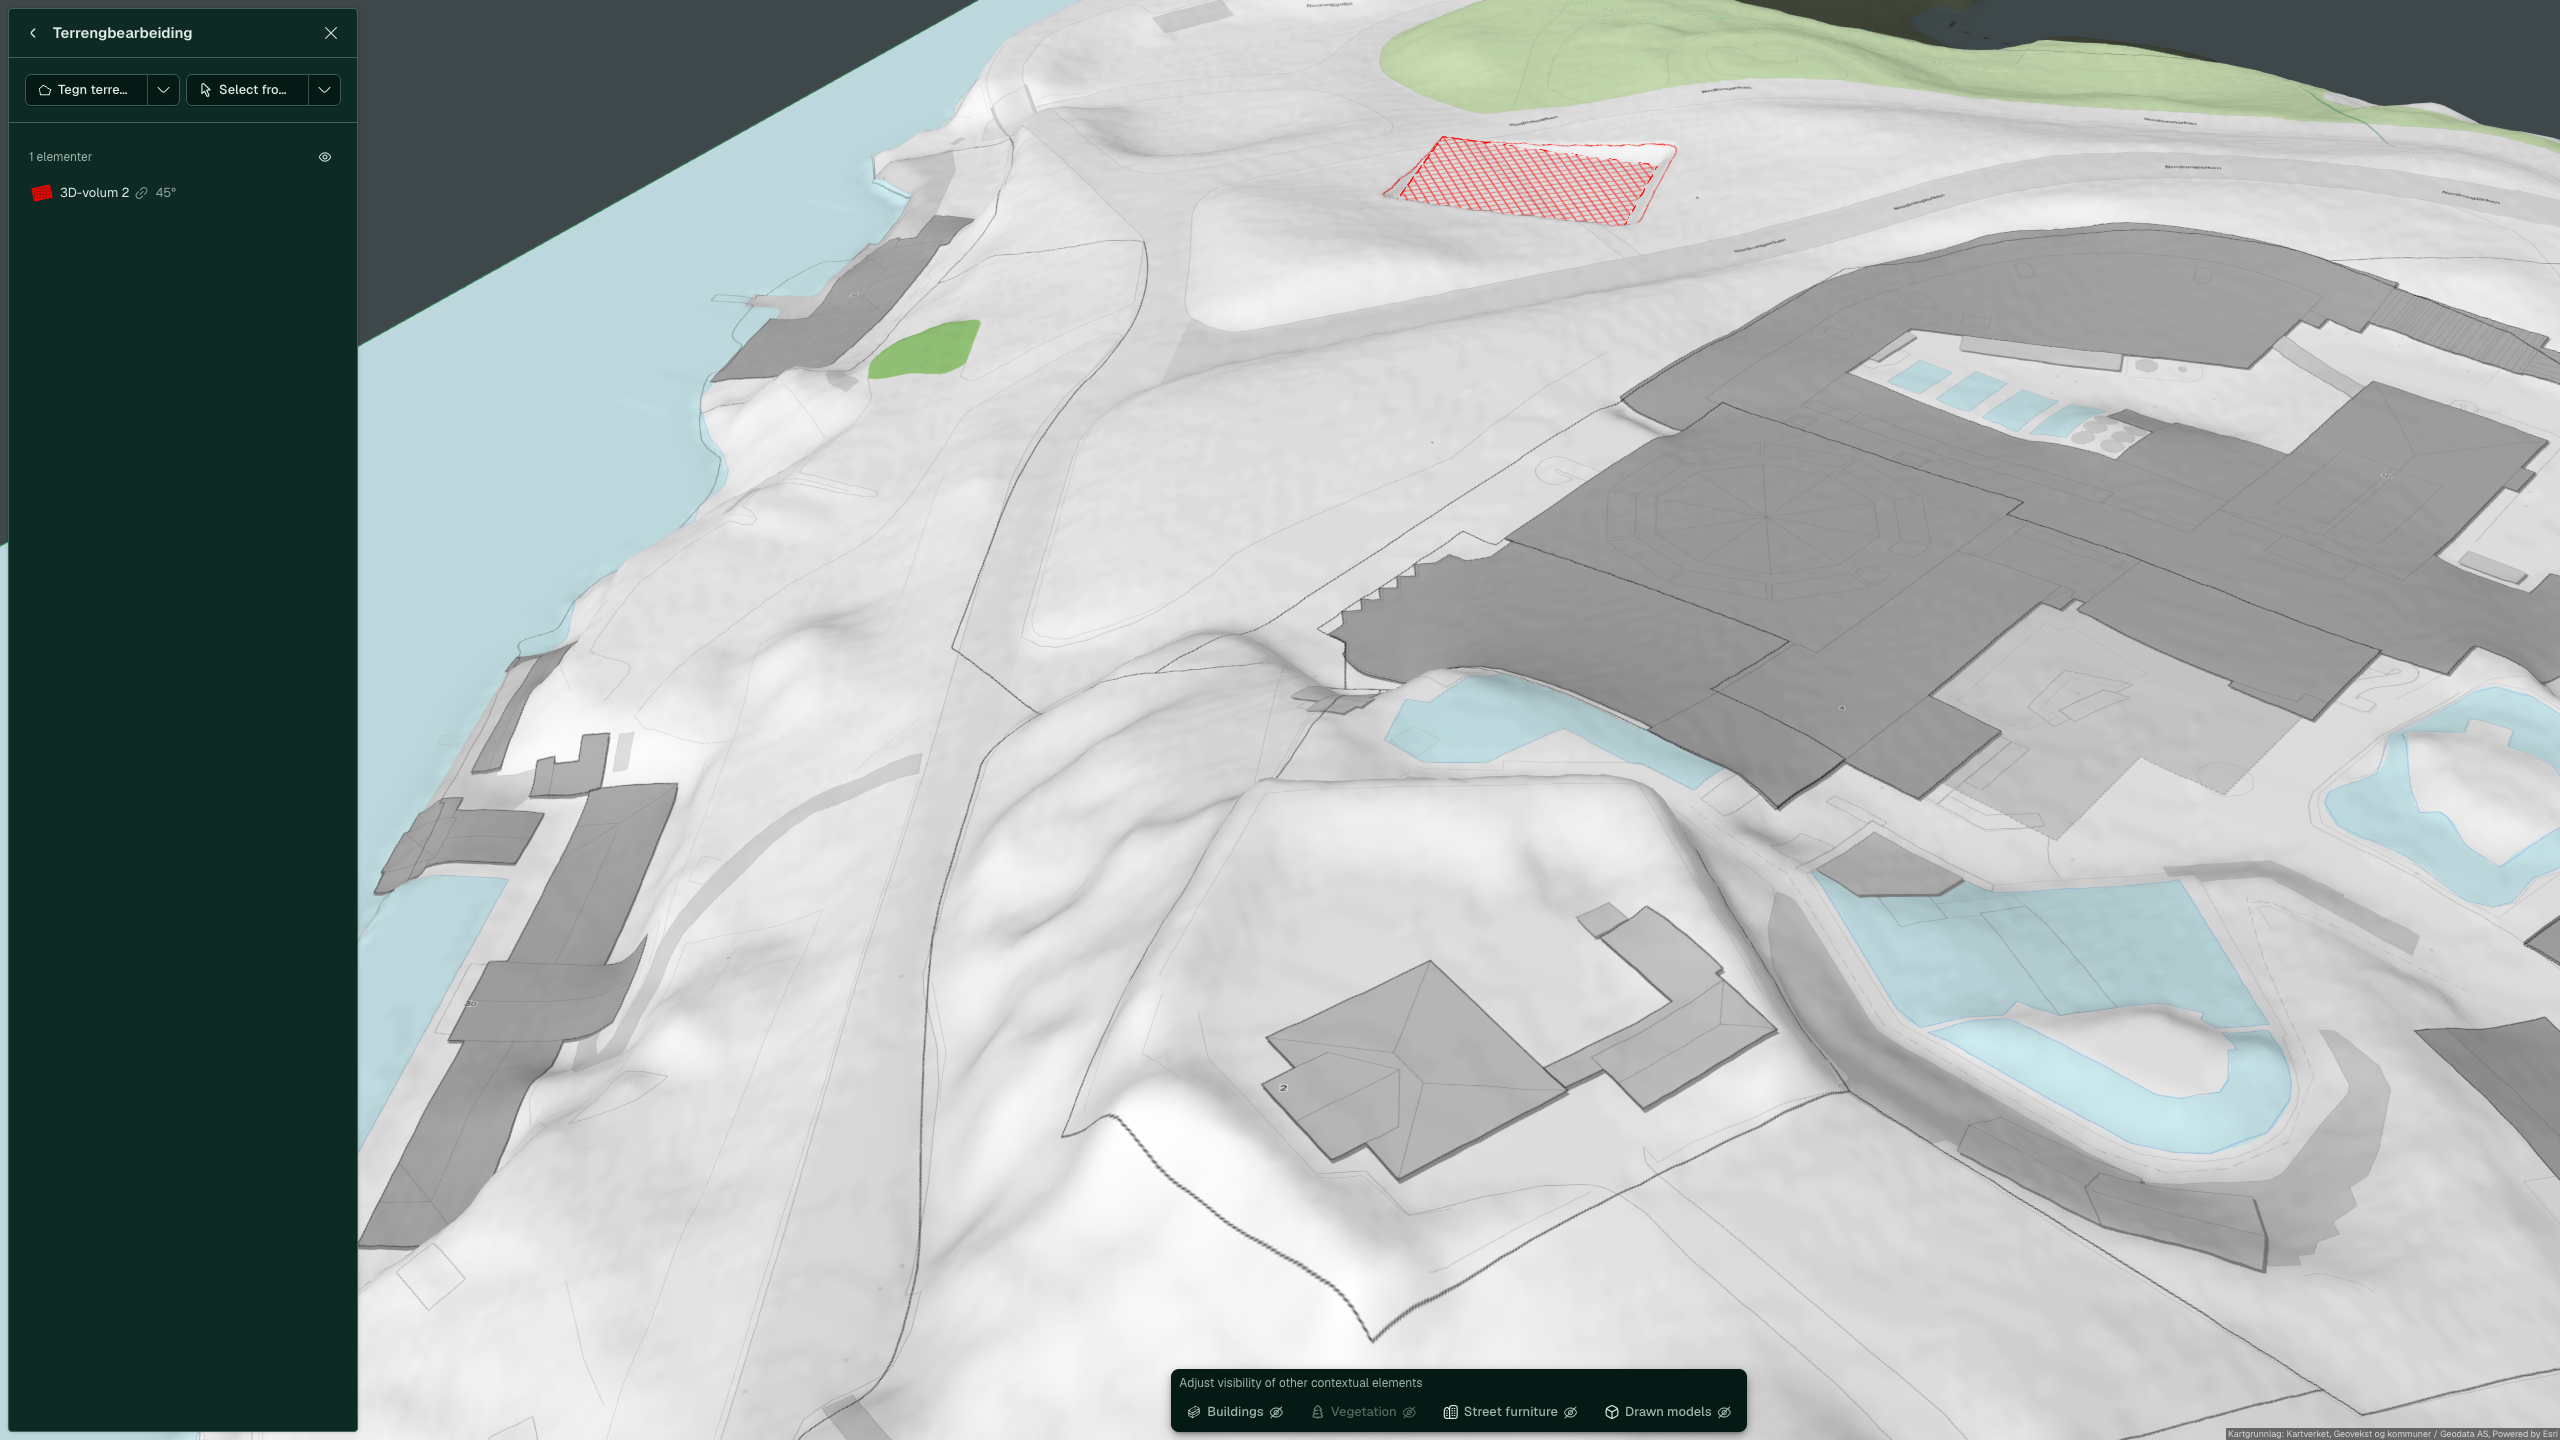
Before you draw, the mode shows the terrain as it is. The red hatching is the terrain that follows the building “3D volume 2”.
-
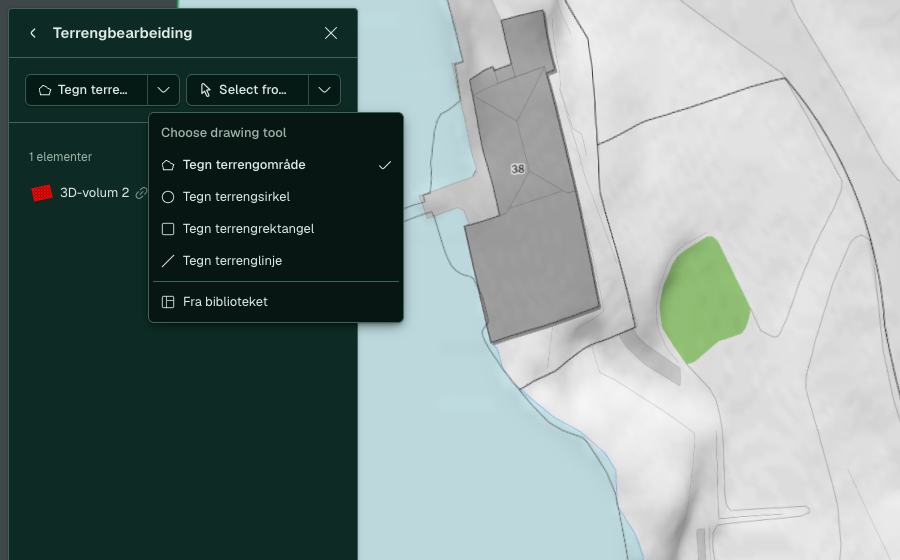
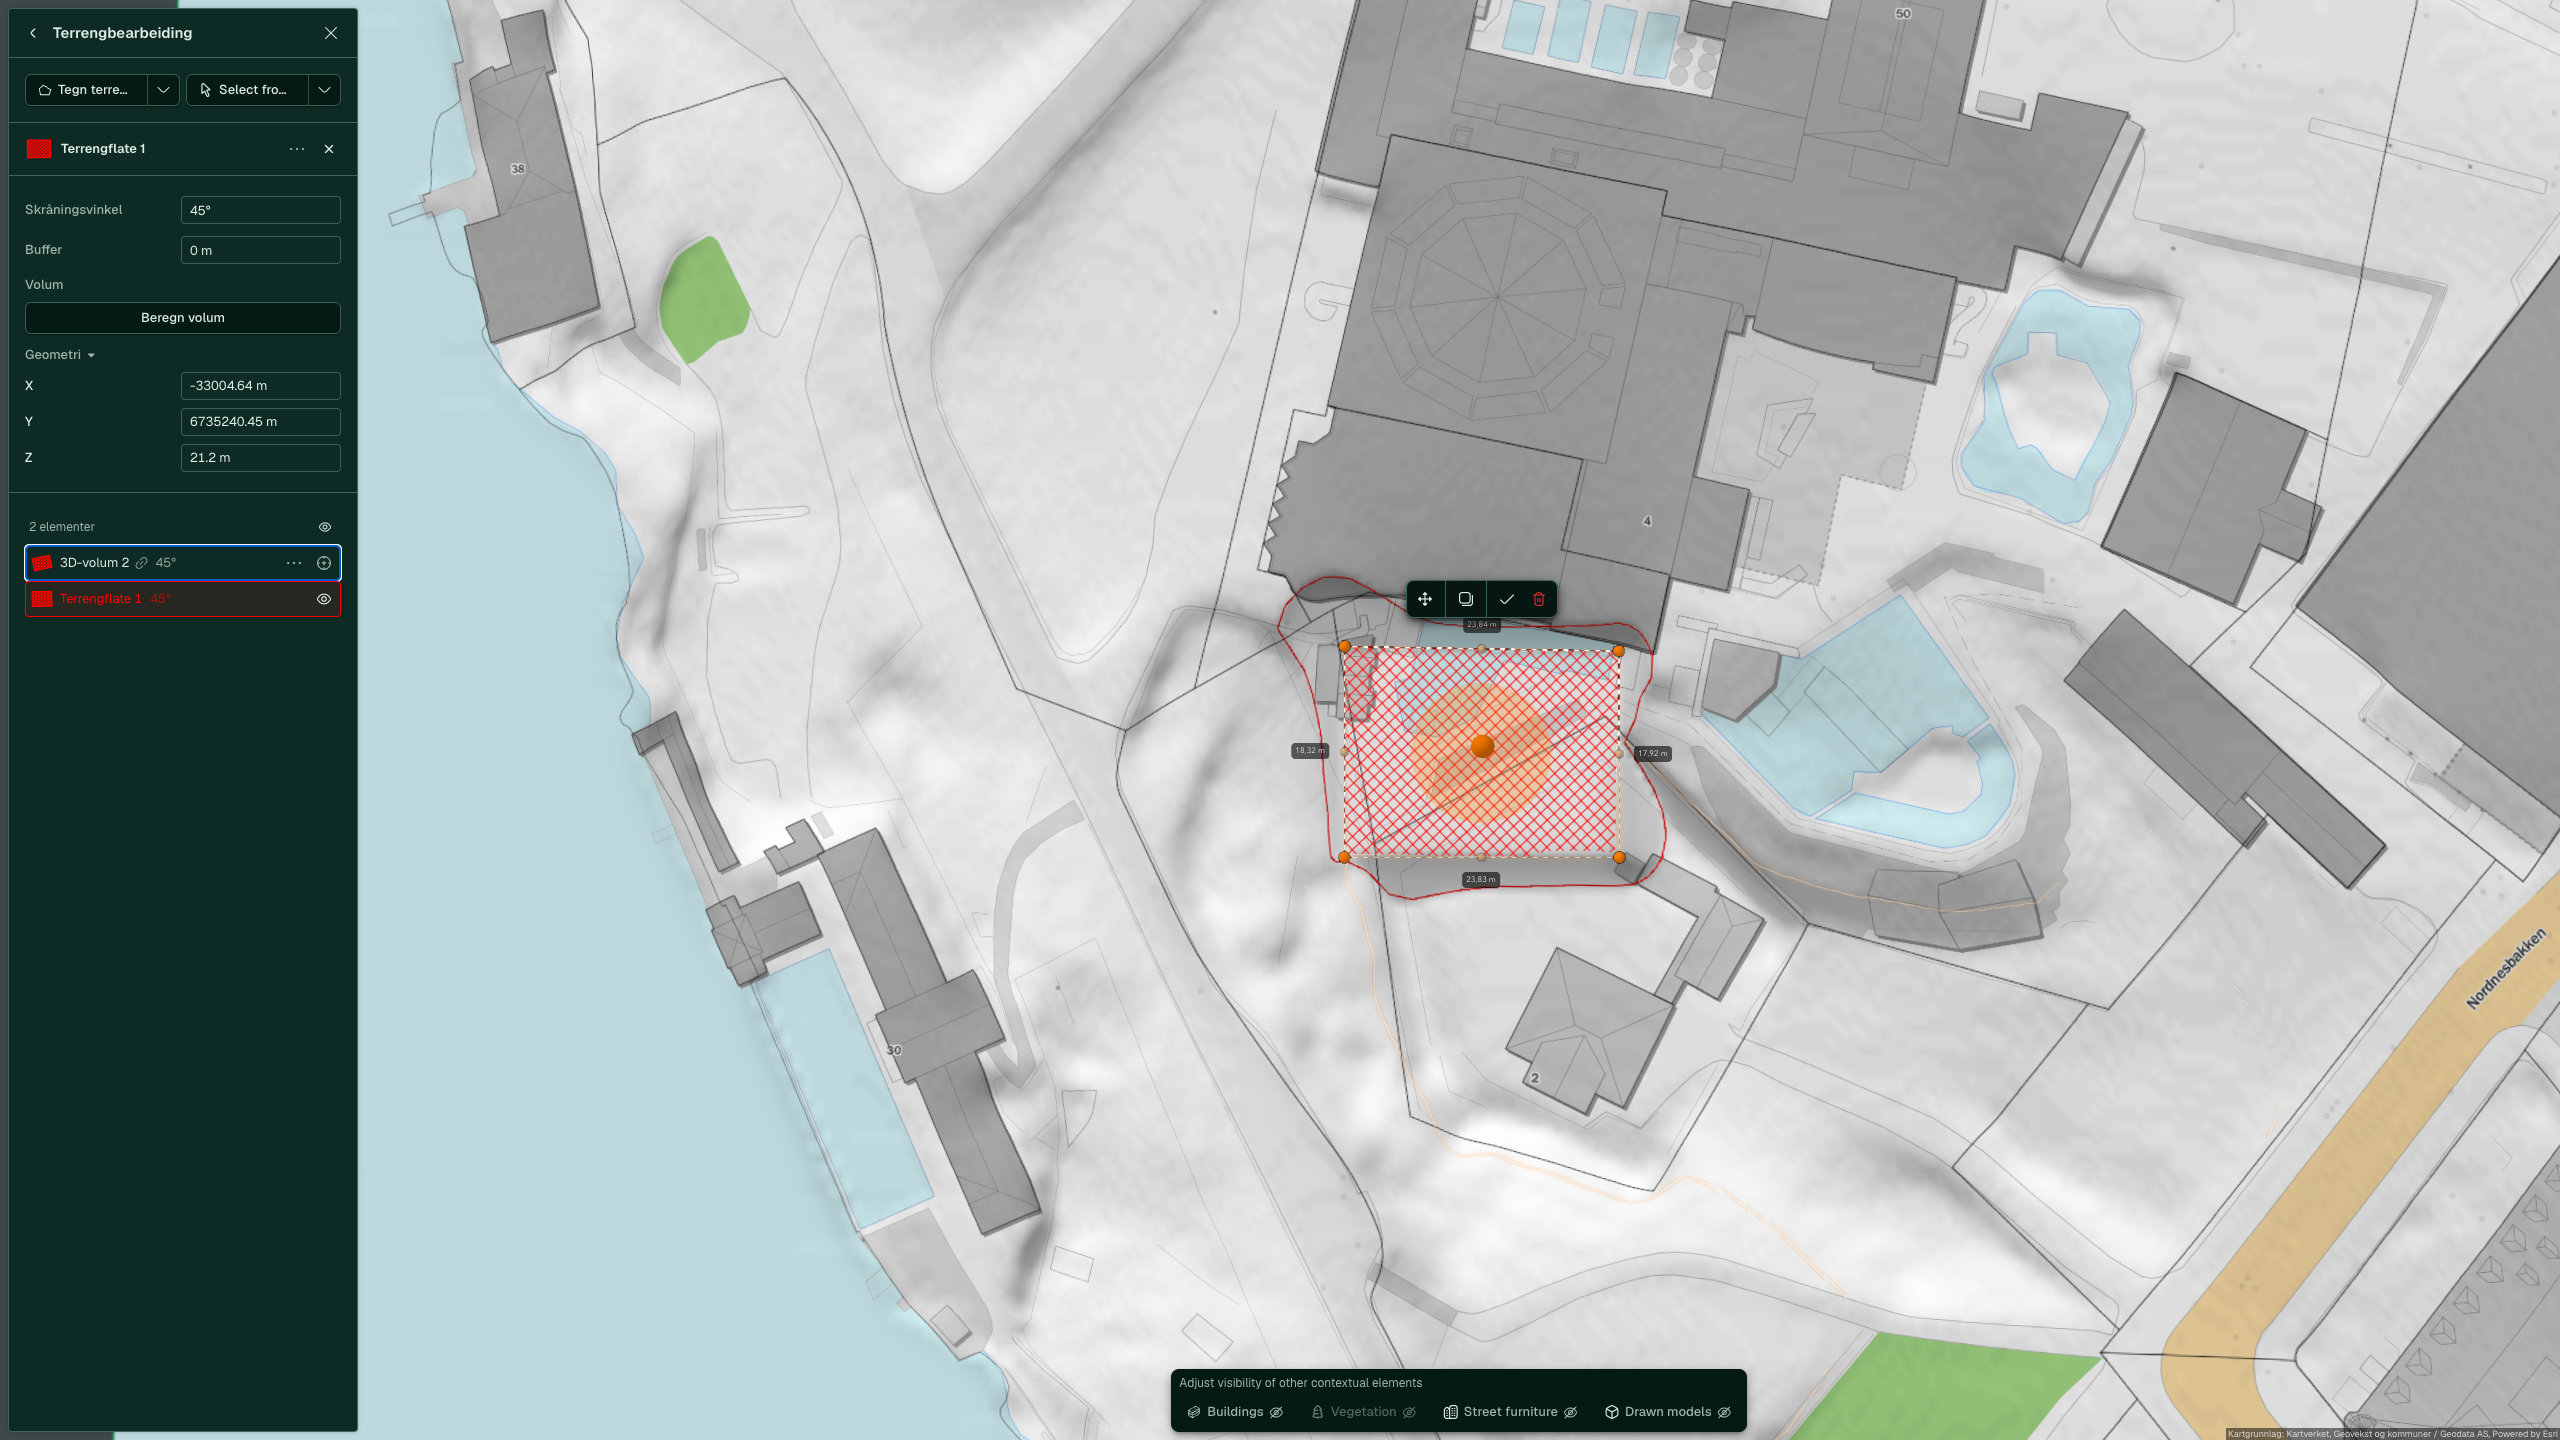
Click Draw terrain area, click the corners of the building area and press Enter. The surface is called “Terrain surface 1” and gets red hatching. The arrow next to it gives more shapes: circle, rectangle and line.
-
Open Geometry and enter the height in Z, in metres. You can also drag the large orange arrow.
-
Enter the slope of the edge in Slope angle. The default is 45°. To extend the surface beyond your drawing, enter the distance in Buffer.


If the surface should follow a building that is already on the map, click the arrow next to Select in map, choose Select building and click the building in 3D. You then do not need to draw the surface yourself.

Draw a road with an even gradient
A terrain line shapes the terrain along a line. You use it for a road that needs an even gradient.
-
In “Terrain editing”, click the arrow next to Draw terrain area and choose Draw terrain line.
-
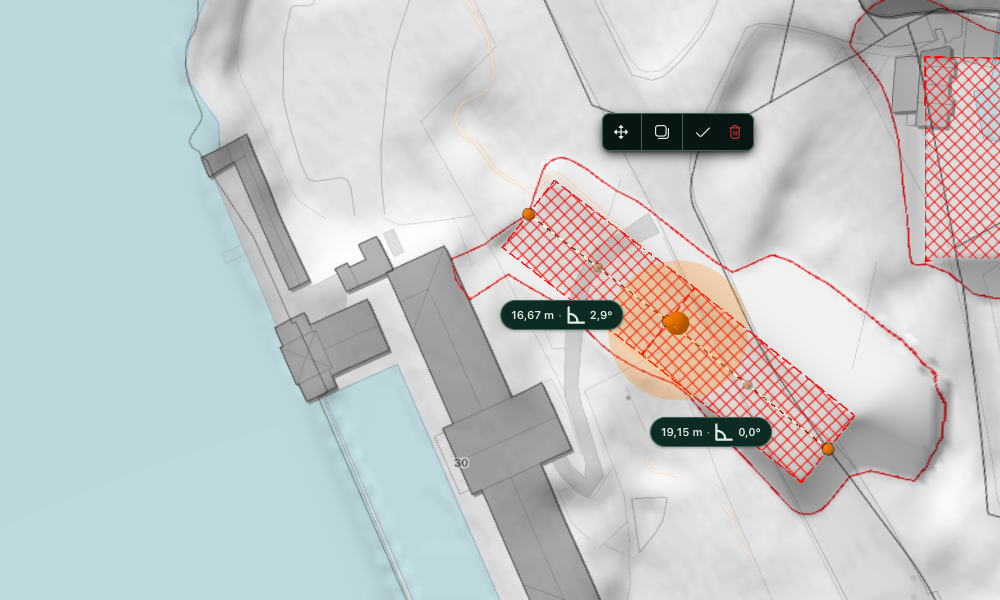
Click the points along the road and press Enter. The line is called “Terrain line” followed by a number.
-
Choose Follow the points under “Surface”. Each segment now shows its length and gradient.
-
Click the value on a segment, select the text and enter the gradient, for example
1:20. Press Enter. The segment shows 2.9°, and the points after it move with it.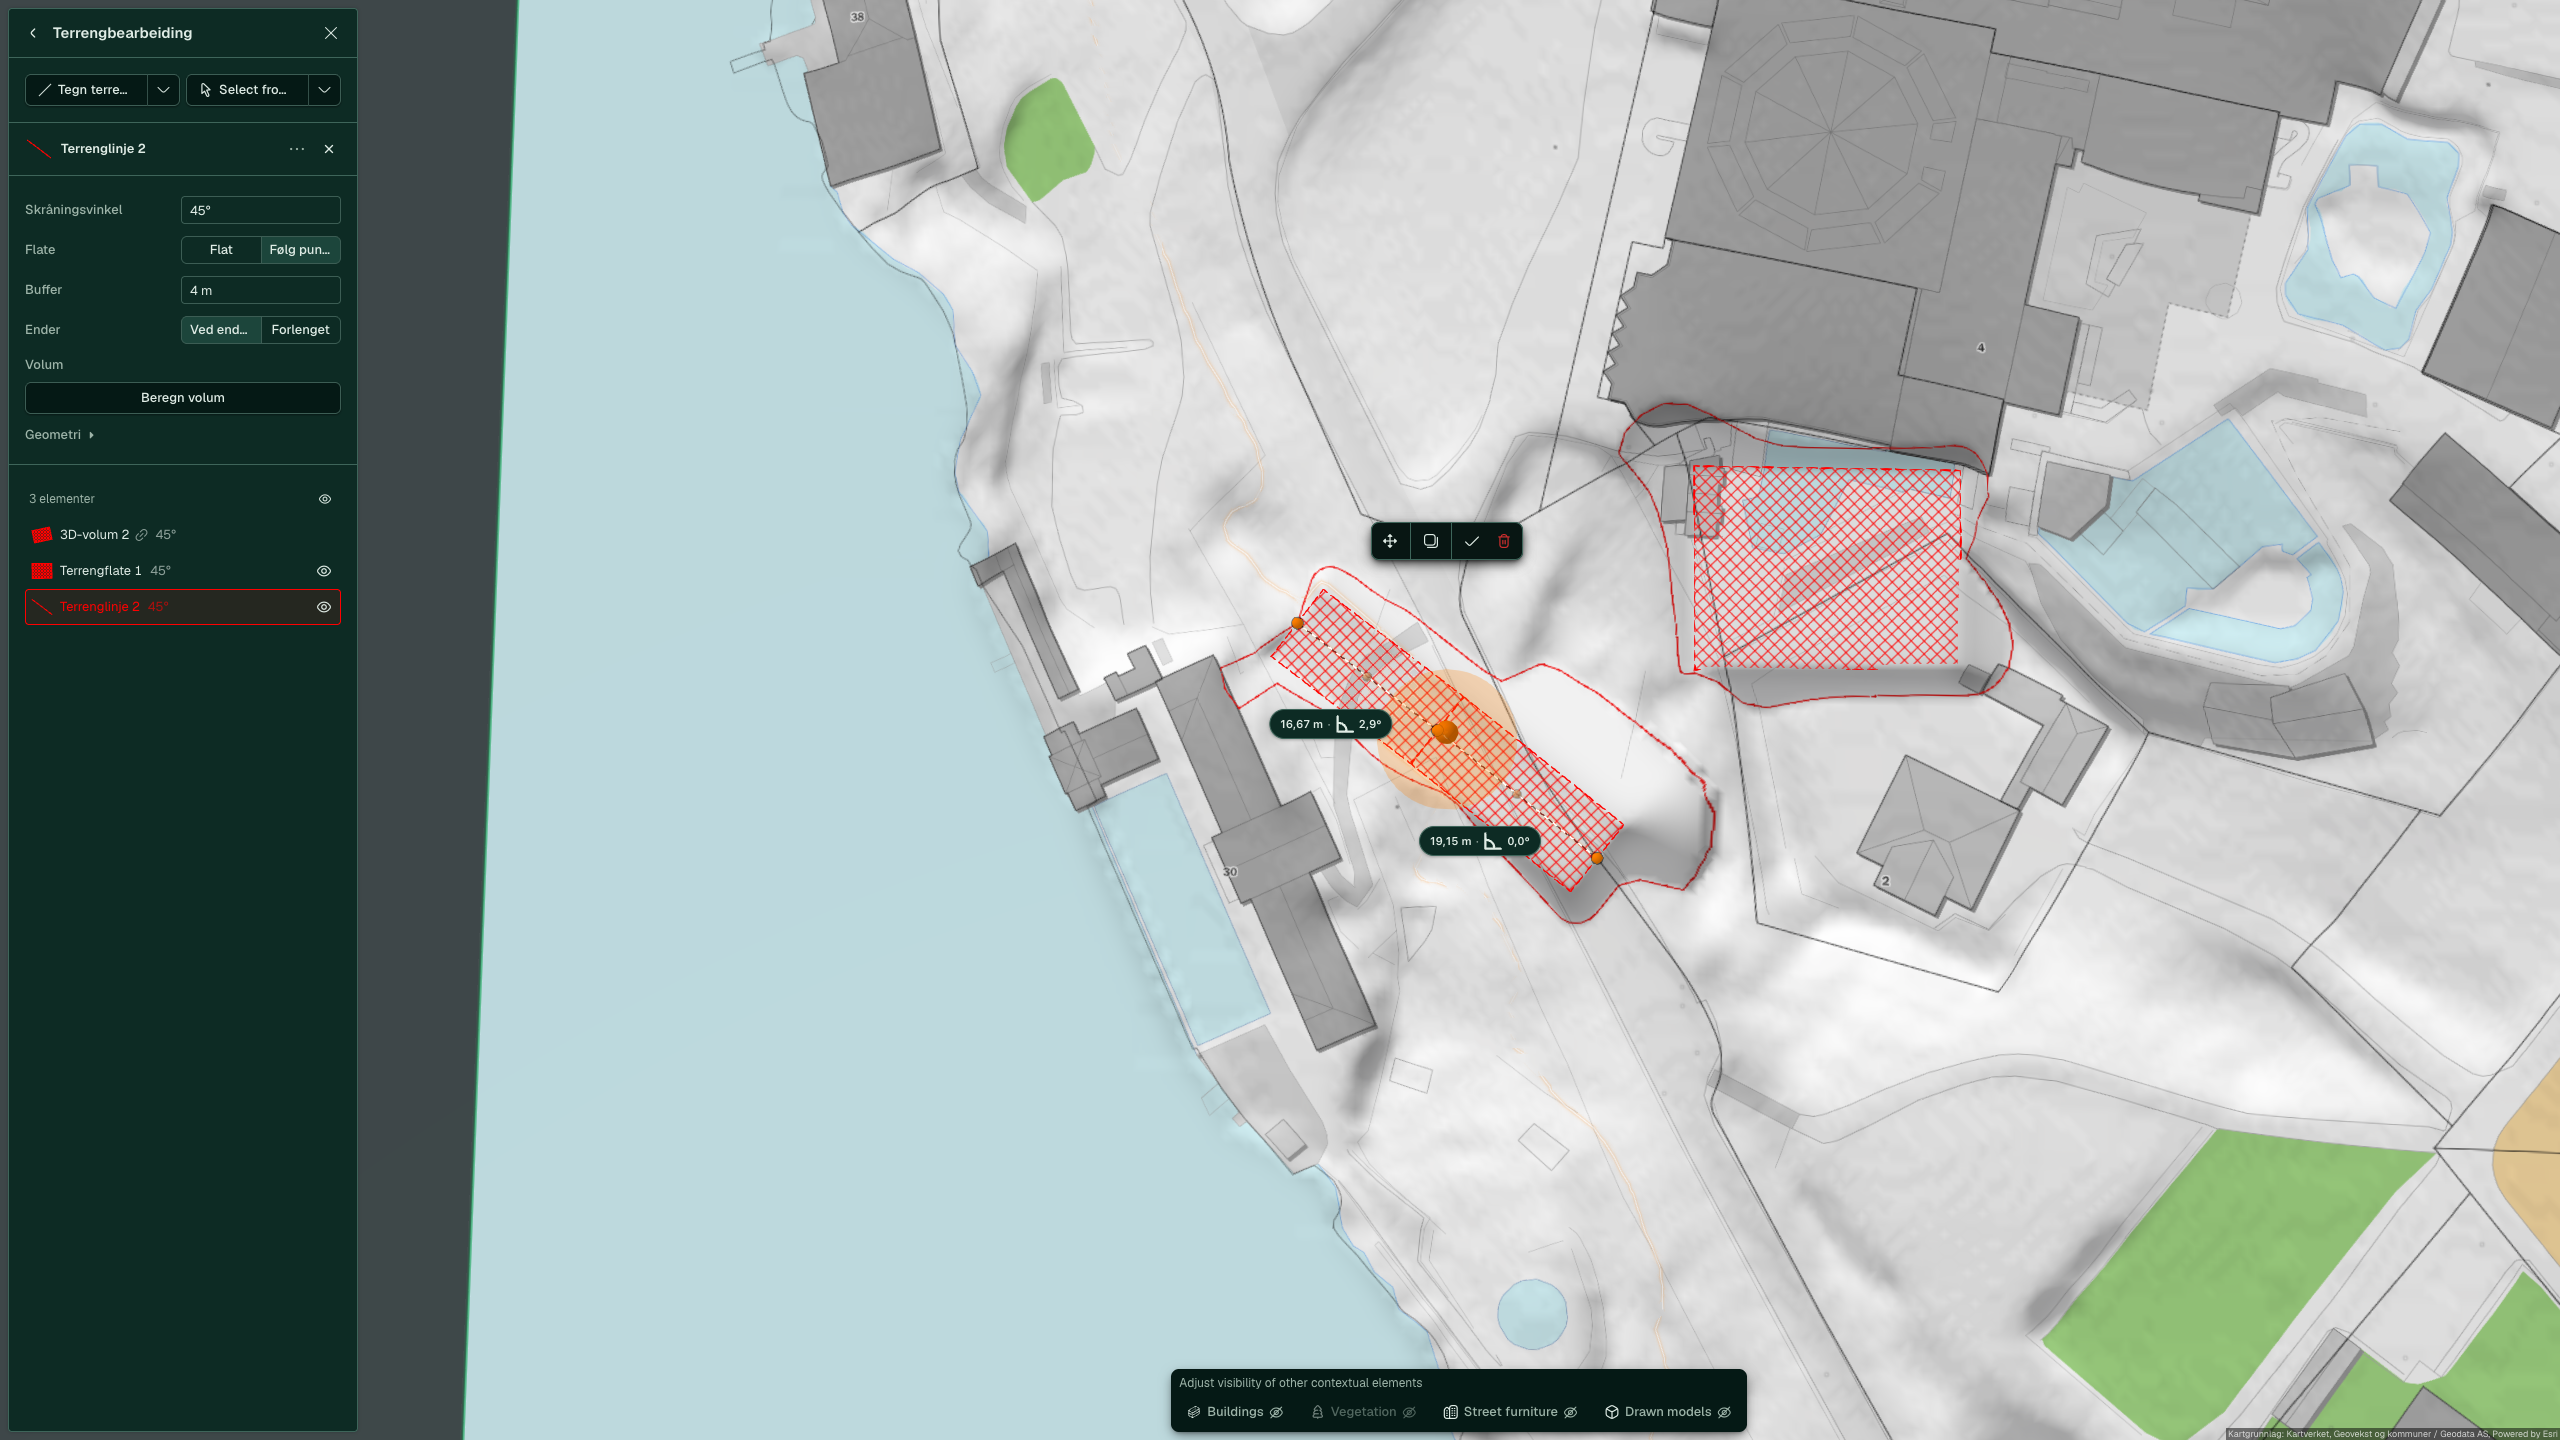
-
Enter the width on each side of the line in Buffer. The default is 4 m.


You can enter the gradient as degrees (5), a percentage (4 %) or a ratio (1:20).
Read off the earth volumes
-
Select the terrain surface or the terrain line.
-
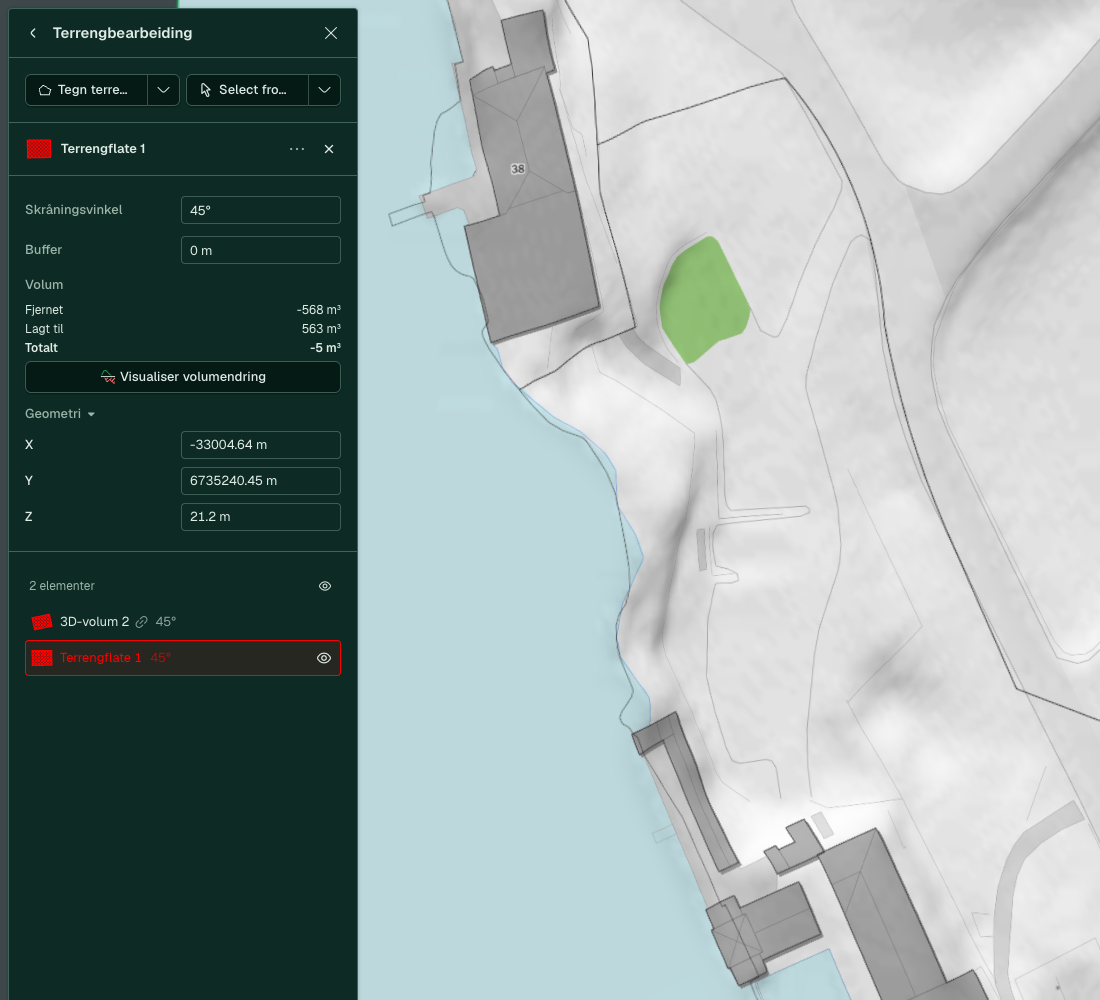
Click Calculate volume under “Volume”. The answer appears straight away.
-
Read off “Removed”, “Added” and “Total” in m³. Excavation has a minus sign.
-
Click Visualise volume change to see the excavation in red and the fill in green. The button is called “Hide visualisation” while the view is on.

If you change the shape, the height or a setting, the figures and the view disappear. Click Calculate volume again. Click Back to the scene when you are done.

Advanced
Do you want the terrain to follow a building without drawing a surface? Choose “Shape the terrain” under “Terrain” in the panel for the building. This is only available in 3D. See Terrain under the building.
See also
- All tools and settings for values and limits
- Draw buildings for the buildings you are planning for
- Surroundings for trees, fences and roads around the plot